Great workmanship, backed up...or lead by a great eye!
thank you for sharing :-D
Greg.
thank you for sharing :-D
Greg.

Follow along with the video below to see how to install our site as a web app on your home screen.

Note: This feature currently requires accessing the site using the built-in Safari browser.
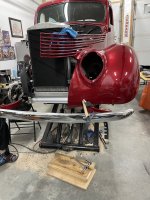
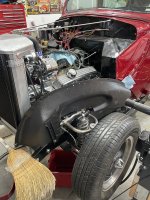
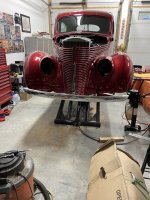
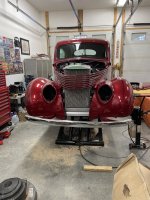
Looking good RussMy project has proceeded for six years and is 1938 Standard sheet metal fitted to a 1938 Deluxe body. Both the original standard frame as well as the deluxe frames needed a lot of "work" to be a good foundation. So, in my last year before retirement I invested in a Fat Man Fabrications frame. Heavy duty style front end,power rack in place, 9 inch Ford rear, 4 wheel disc brakes and the plumbing already run. Used a 2x6 home made lifting rack to lift the body from the old frame and lower to the new one. The body was lifted umpteen times from the frame during the course of the build. Refurbished an old home built rotisserie to aid in the build as well.
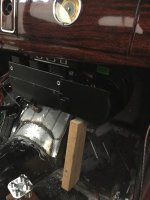
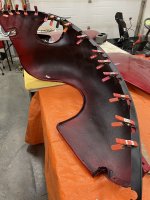
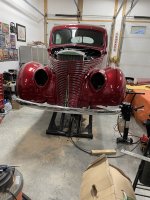
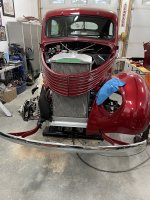
Have not posted progress for some time, so here is a catch up. Upholstery is complete. The master brake reservoir has to be replaced as the original one that came with the frame restricts the brake fluid (too small to feed 4 disc brakes). Have purchased an electronic emergency brake system to be installed. Will get mechanical inspection done first thing in the Spring. Been a 10 year journey. Hope you like the progress.