1961 PV544 Project - Update 7

As I said in the previous article:
"Given what I had found while stripping the interior floors and the trunk, it made sense to do the same to the underside although I think I may have naively thought I might not have had to do this when I got the car after having given it the once-over at the previous owner's garage."

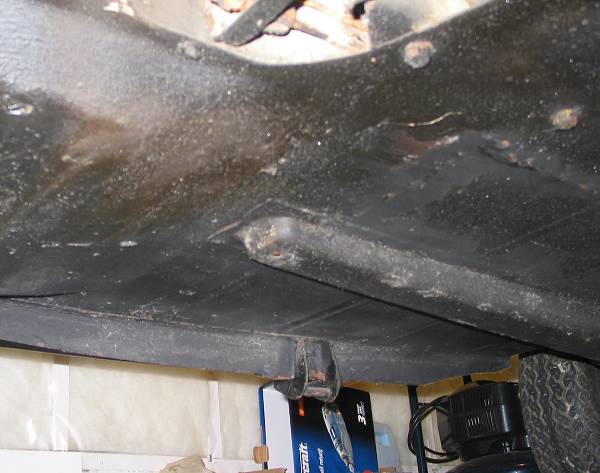
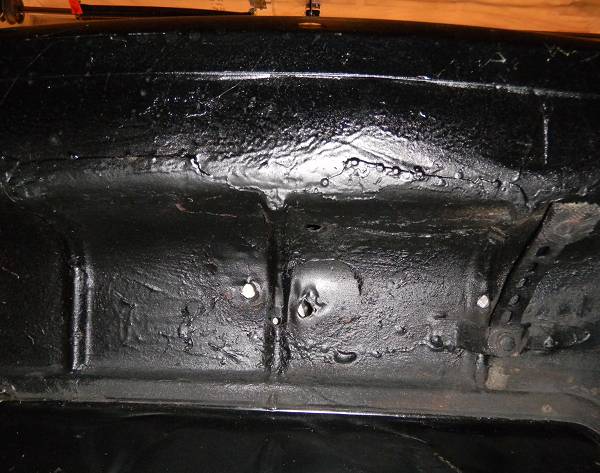
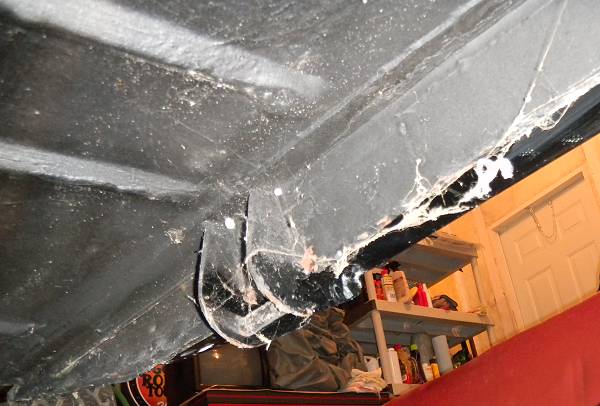
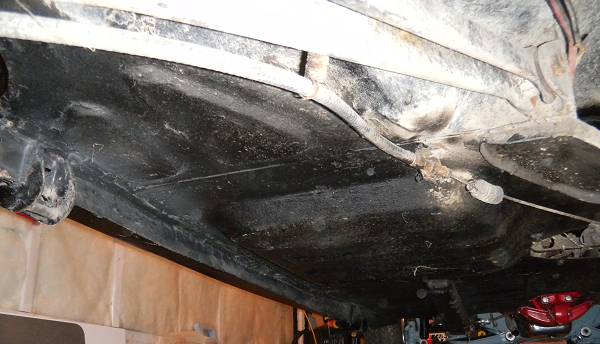
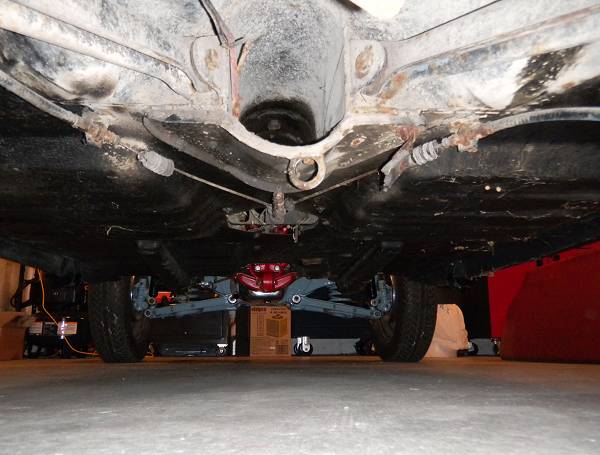
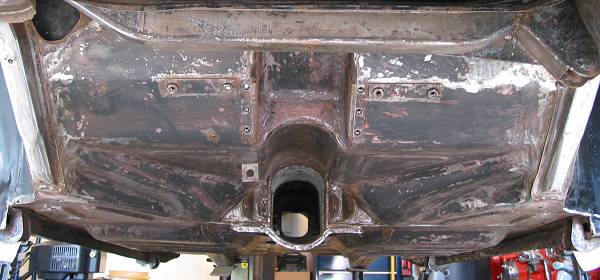
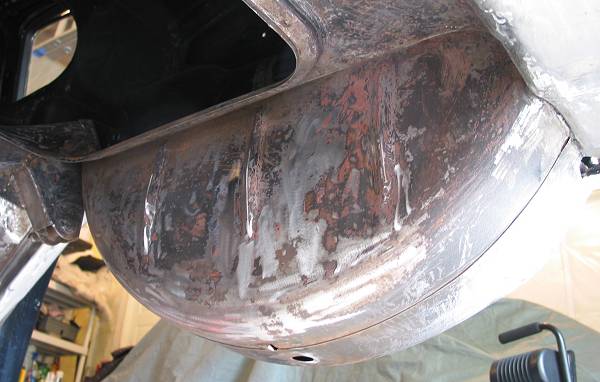
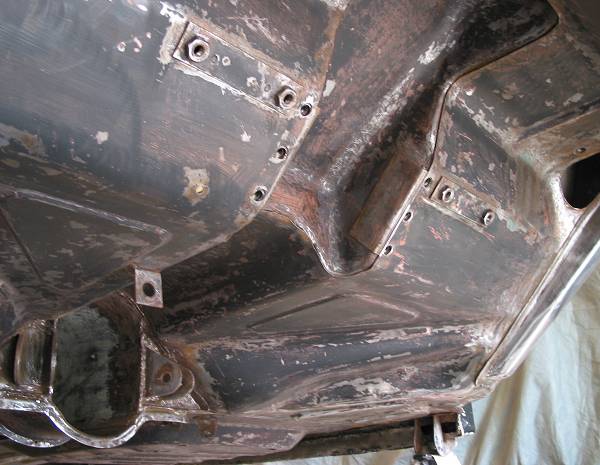
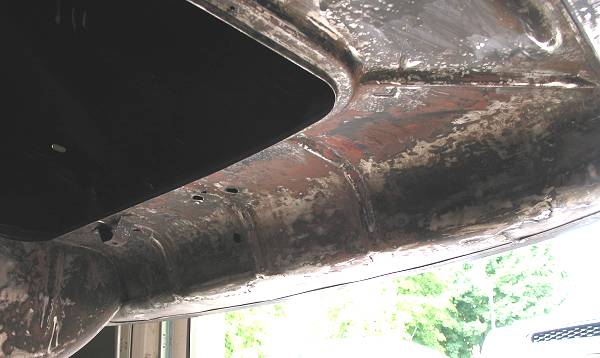
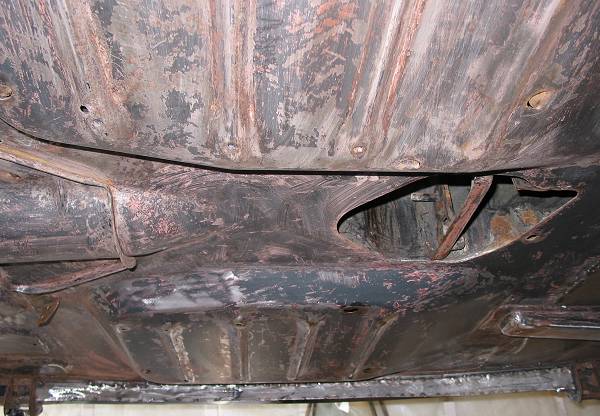
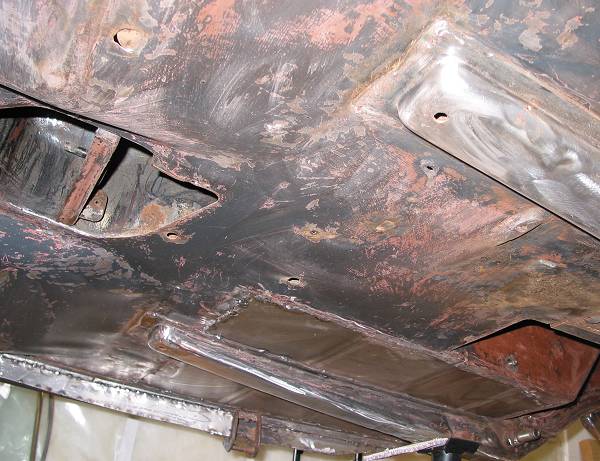
Needless to say, stripping the underside while lying on a concrete floor (and during winter) does not compare favourably to stripping interior floors and trunk areas.

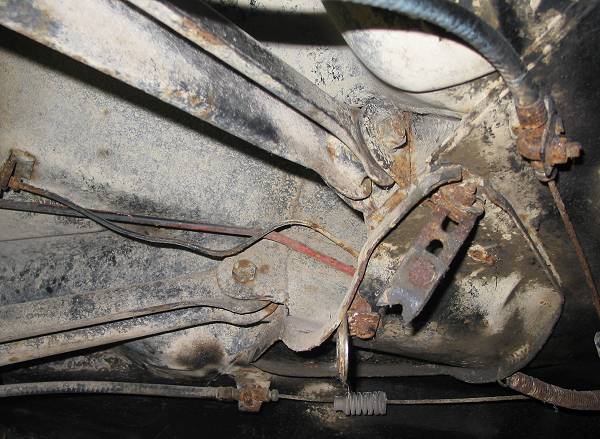
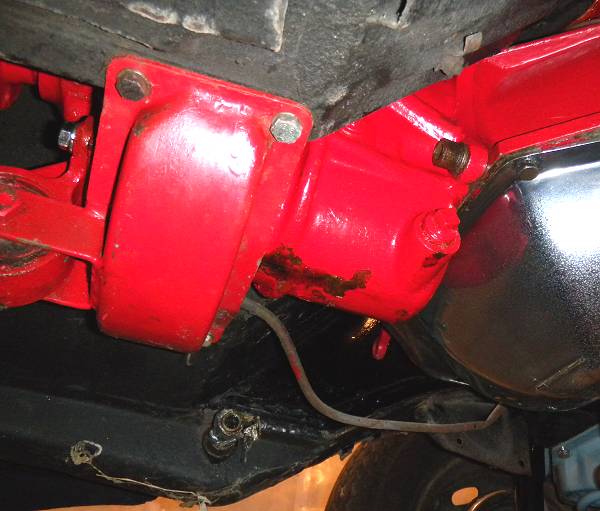
Unlike the interior surfaces, the bottom had been treated over the years to a number of coverup solutions that made removal even more difficult and messy.

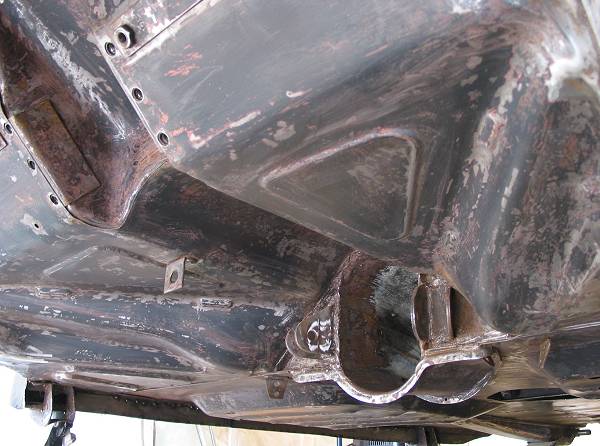
I found: factory primer/paint, additional primer layers, additional paint, factory undercoating in some areas, other spray-on undercoating, manually applied undercoating and more of the dreaded "rubberized mastic coating" first encountered in Update 3. This stuff was truly unbelieveable. As I said earlier: "...was almost impossible to remove. Heat didn't help as it turned the stuff to goo which meant cleaning the knife constantly and the fumes were ugly. The best method turned out to be sharpening the putty knife to a razor-like edge then working it under the material."

Before: Looking forward under the driver's side floor.
Before: Looking straight up into the rear trunk pan. In the reflected area, you'll see some spot welds from a repair.
Before: Passenger side floor and inner rocker. That dull coloured material is the rubberized mastic that was spread completely along the inner rocker and the intesecting floor flange area. The white stuff is courtesy of spiders.
Before: complete driver's side
Before: Looking forward from the back. Upper centre is the location of the trailing arms attachments. Note: driveshaft was two-piece with a support bearing.
Before: a better shot of the trailing arm bracket area.
Before: Front of floors where they meet the toeboard. The transverse bracket is the main transmission mount with the rubber insulator to the left. Lots of grease and undercoating all around this area. At the bottom just left of centre is the pivot point for the original break pedal.
After: Rear kickup area. Trailing arm brackets are in the bottom right area.
After: Looking forward from rear
After: Underside showing spare tire well. The cavity is the gas tank opening.
After: Another shot of rear kickup area looking forward from driver's side.
After: Looking rearward at underside of rear pan.
After: Rear passenger floor in foreground/driver's in rear. In the cavity to the right, you can see one of the pins from the driveshaft support bearing.

After: Passenger front floor in foreground. Note that driver's floor was replaced at some point. As it was not replaced by the previous owner, the repair is 25-30 years old. Also note the crude inner rocker repair.
Next: Moving up top to investigate the "frame rails".