

bct
Well-Known Member
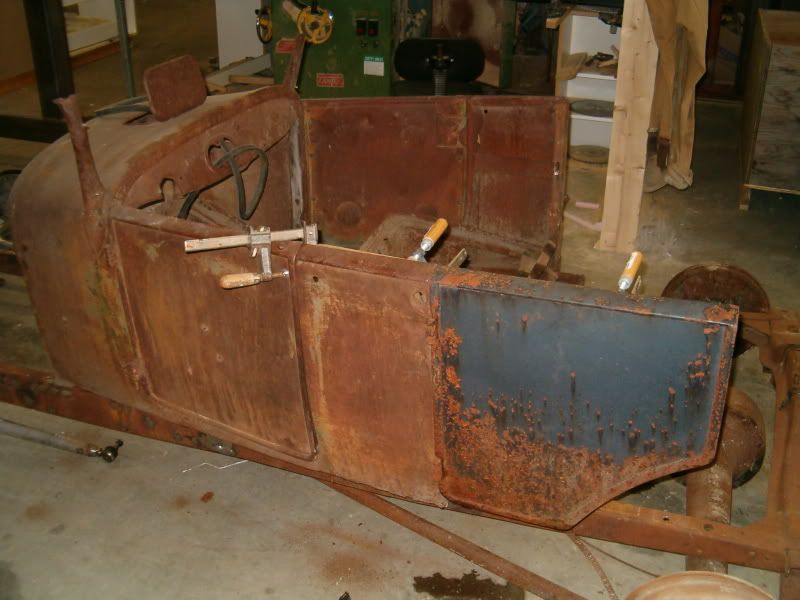
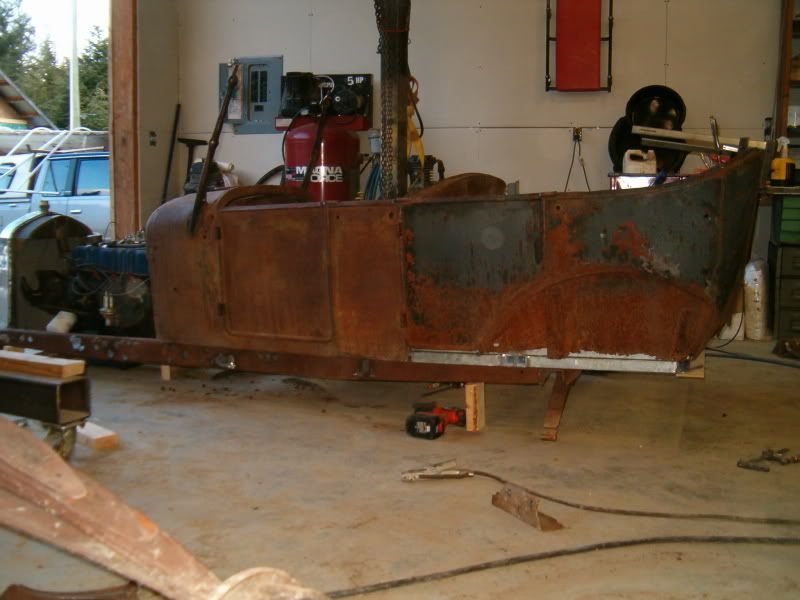
i'm rolling the touring out first thing tomorrow so i thought i'd dust off this old gemi hope to have it driving for the spring....i am motivated by the thought of the odd person who really enjoys build threads and i will try and post as much as i can....
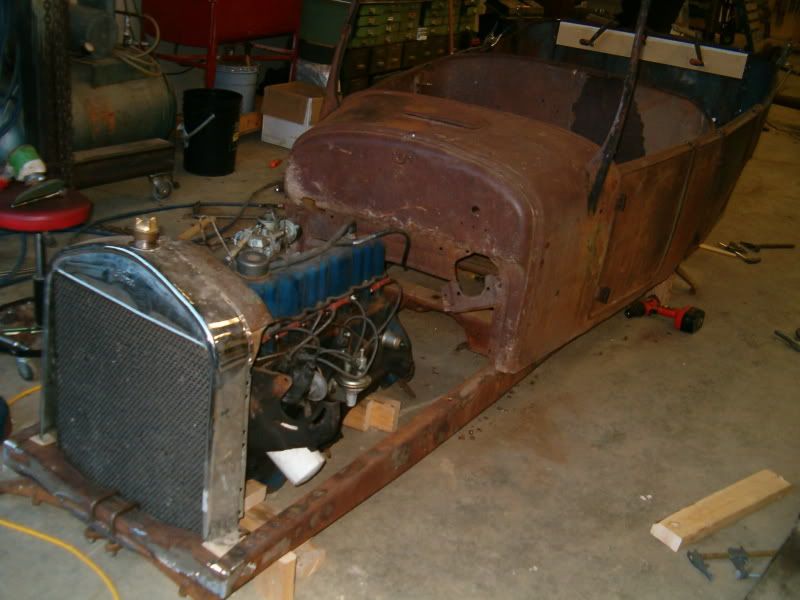
got a spare hour to start the T build before supper.....
i really enjoyed learning to sew and building my roadster top so i want a hot rod with a huge folding chopped top
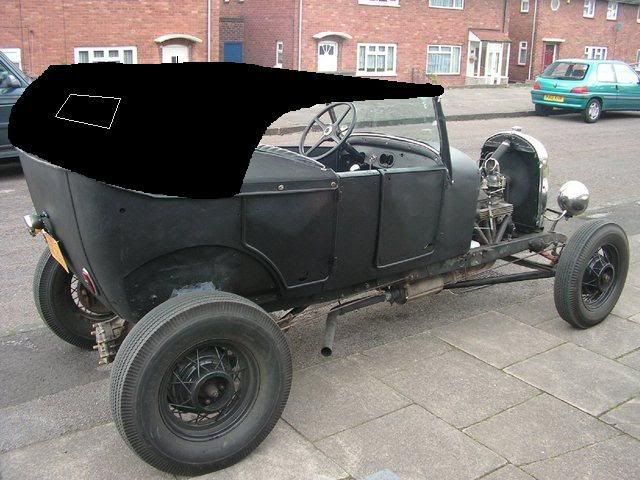
here is my inspiration, with a photochop/paint top
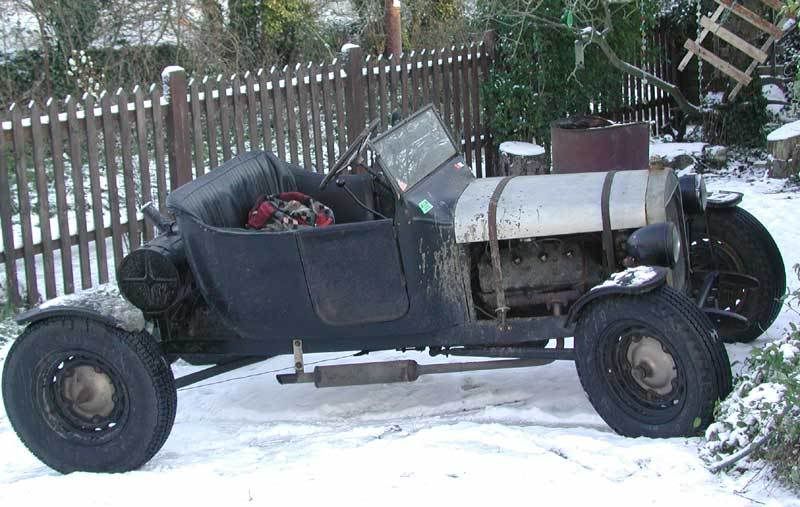
and this one too i like the fenders
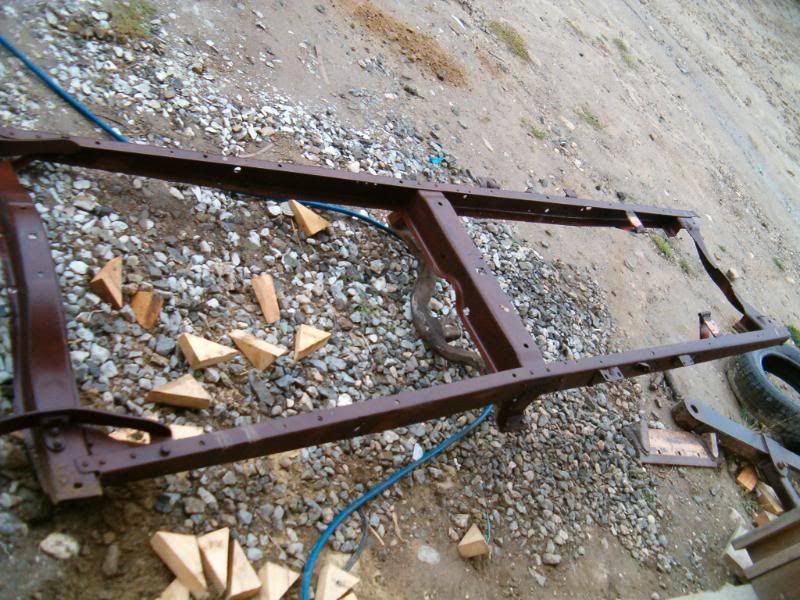
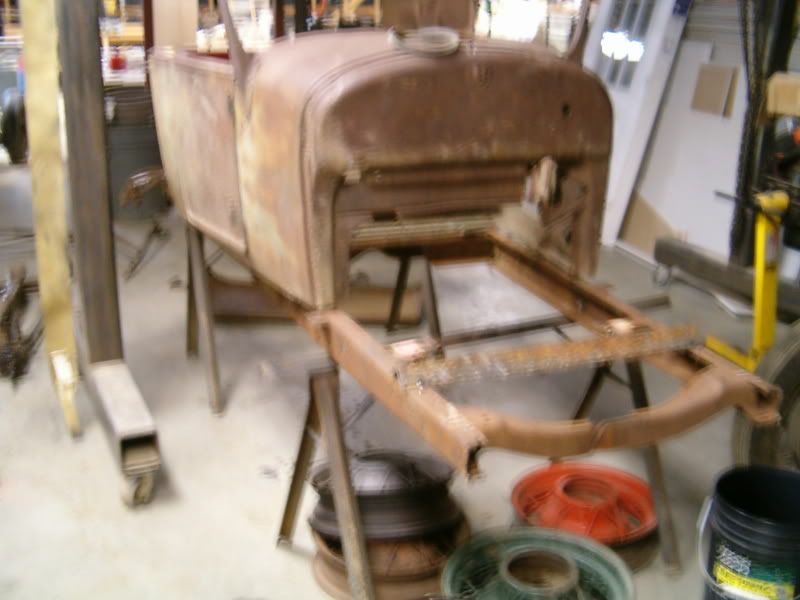
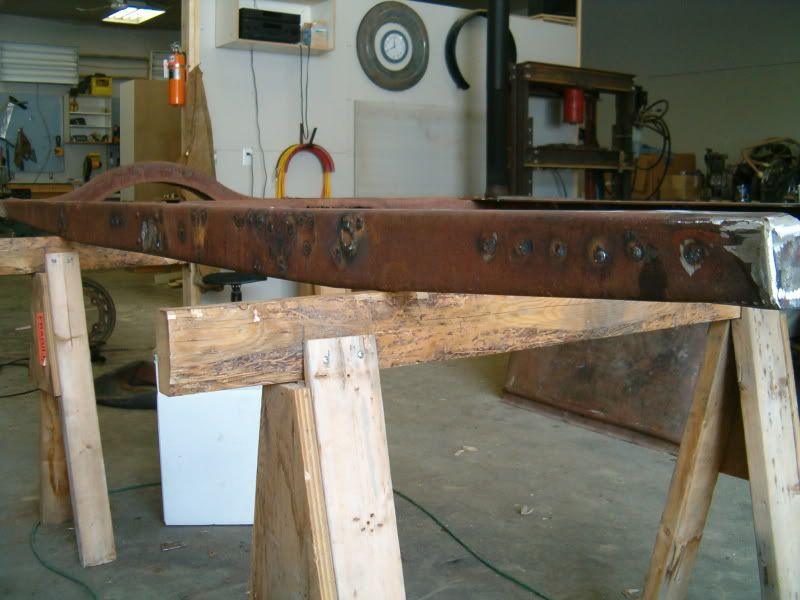
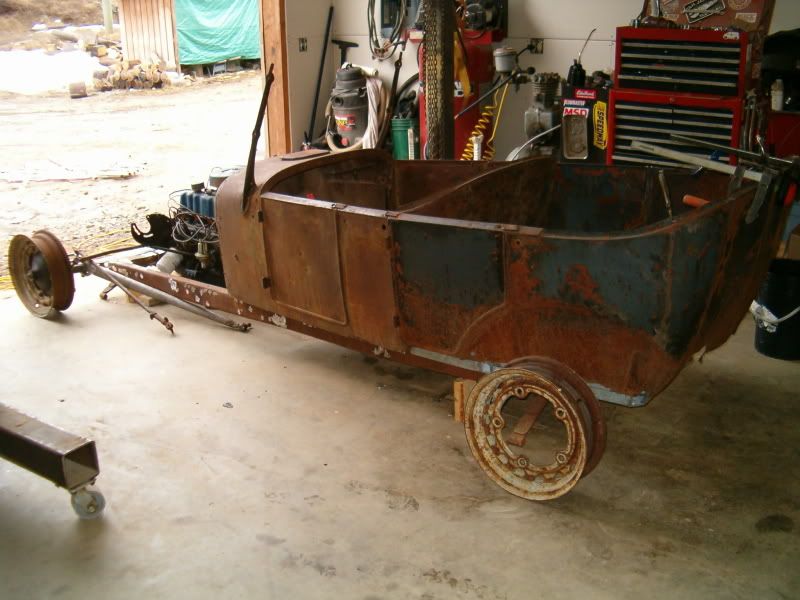
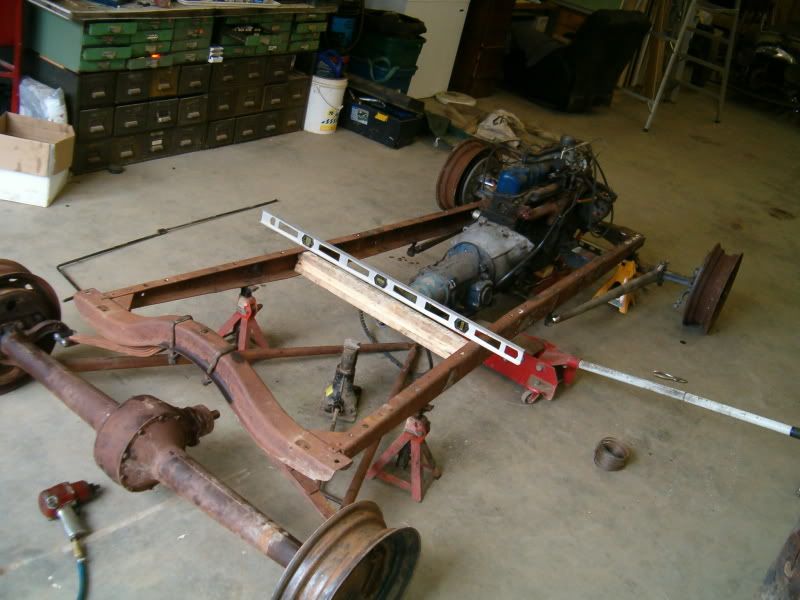
starting with a couple model A frames.....couple real gems
first one is a straight frame with a butchered front cross....was a mustang II on there
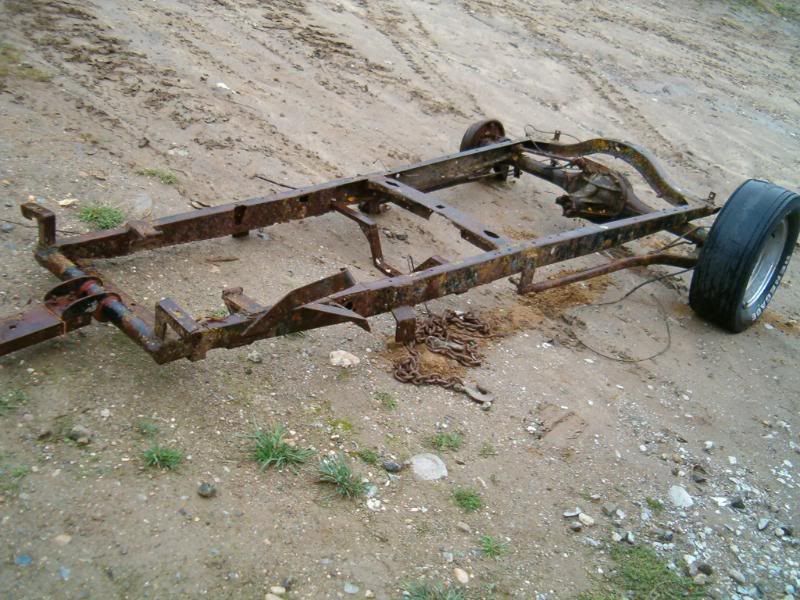
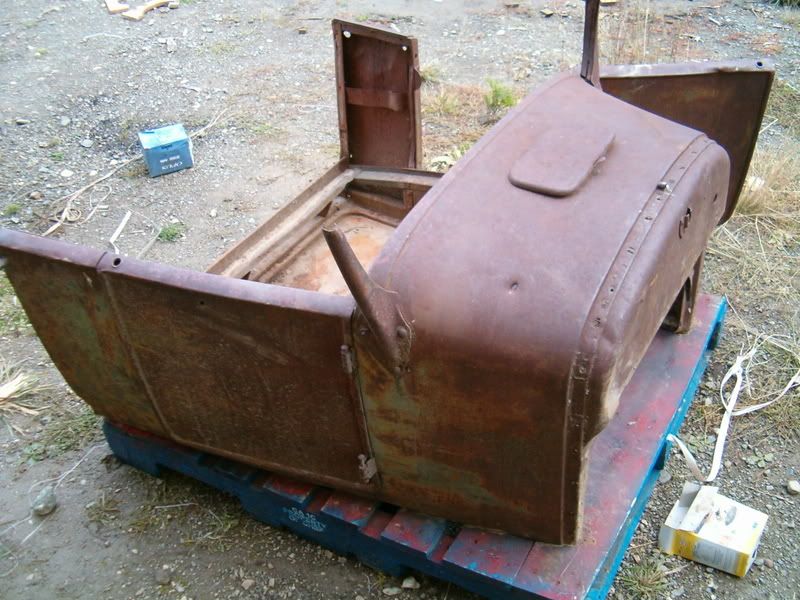
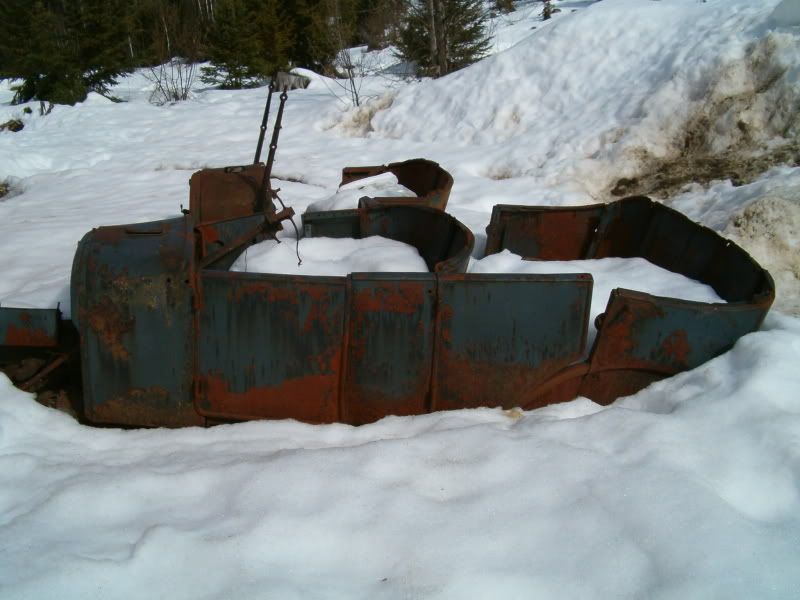
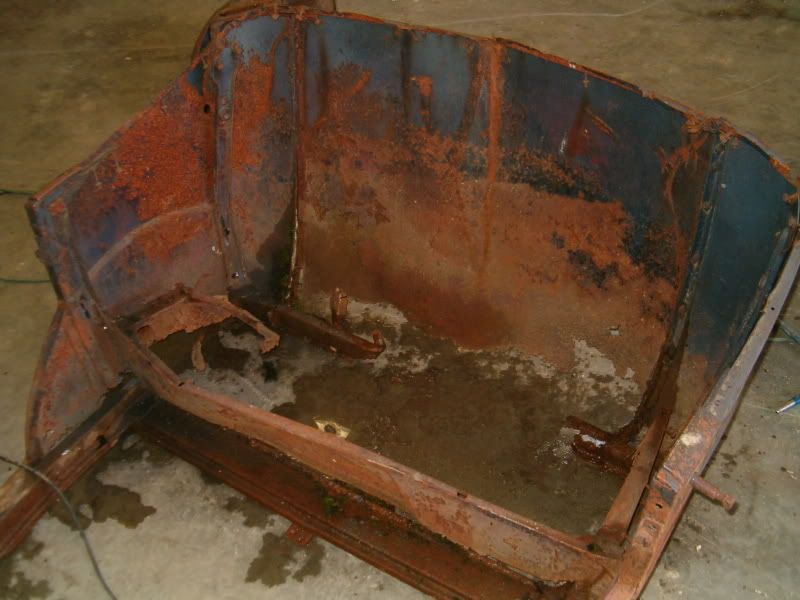
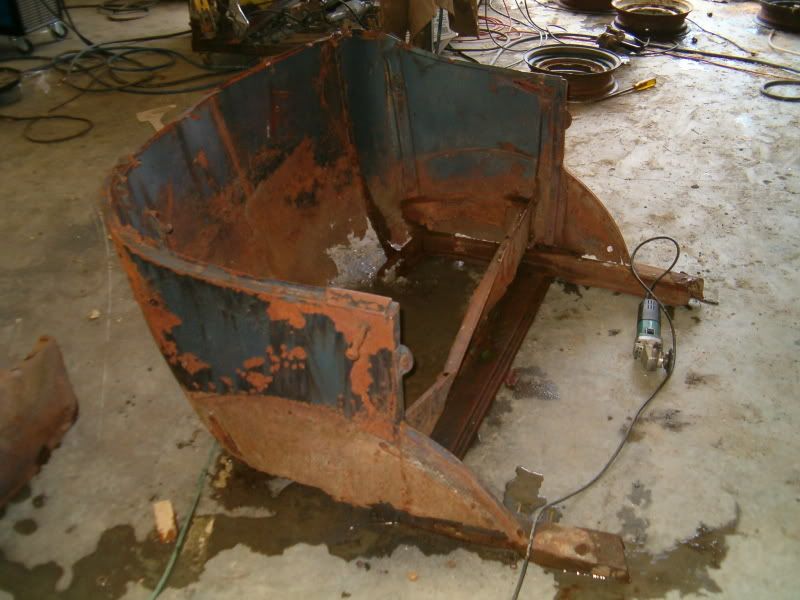
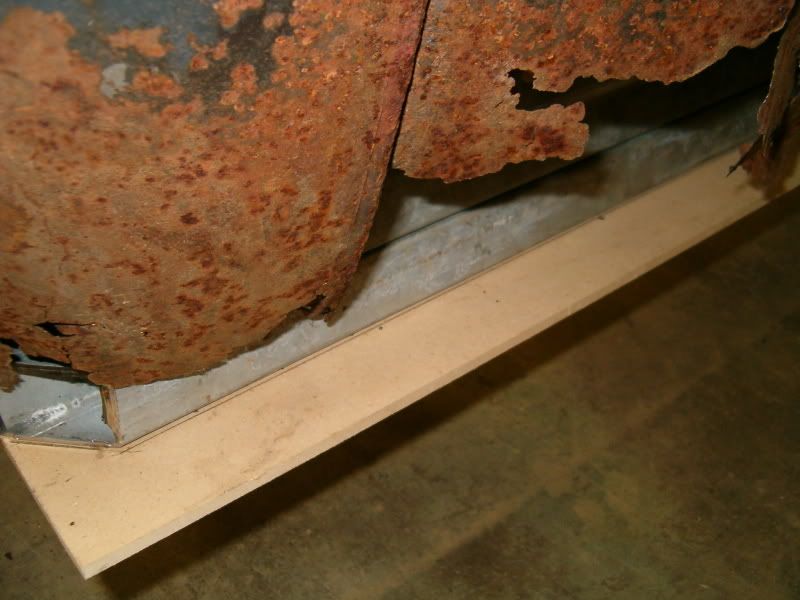
second frame is the junker that came with my roadster
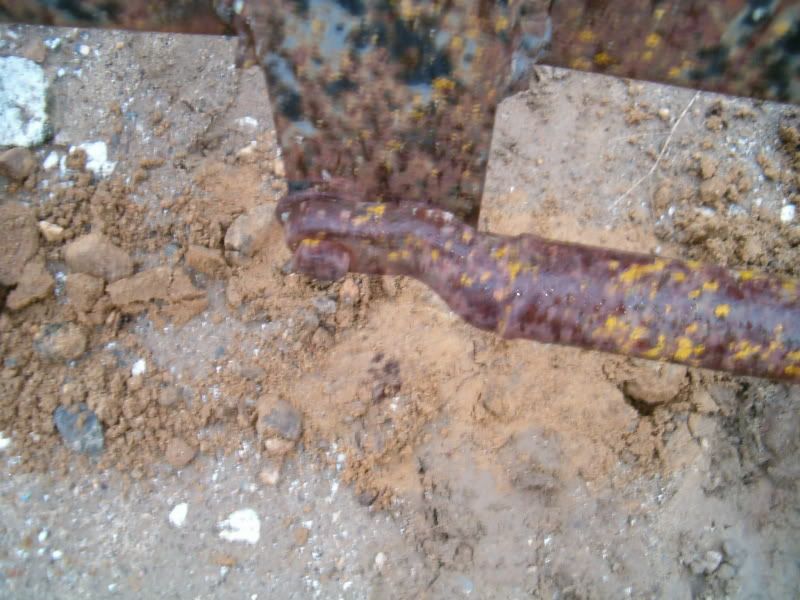
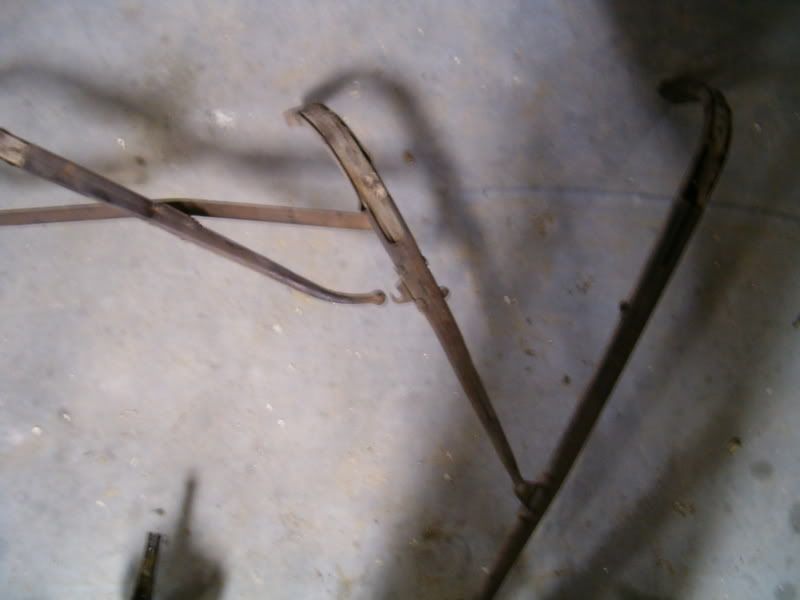
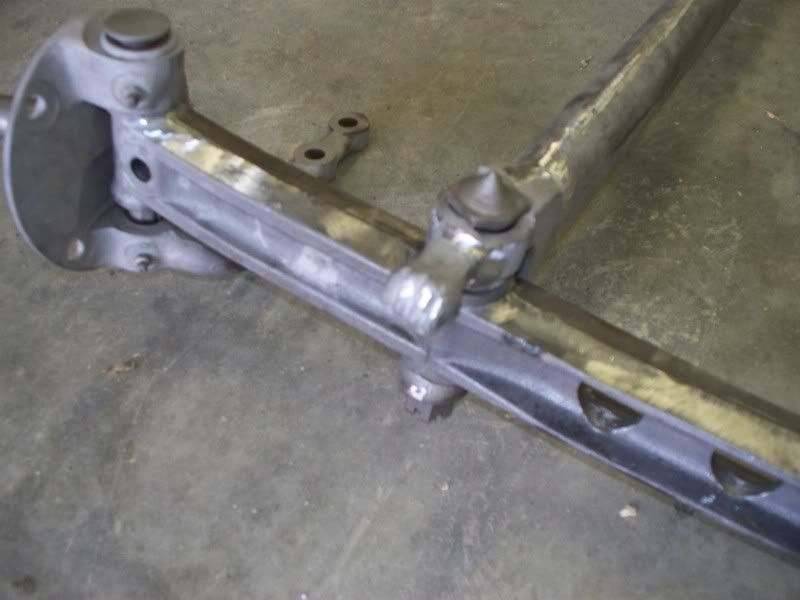
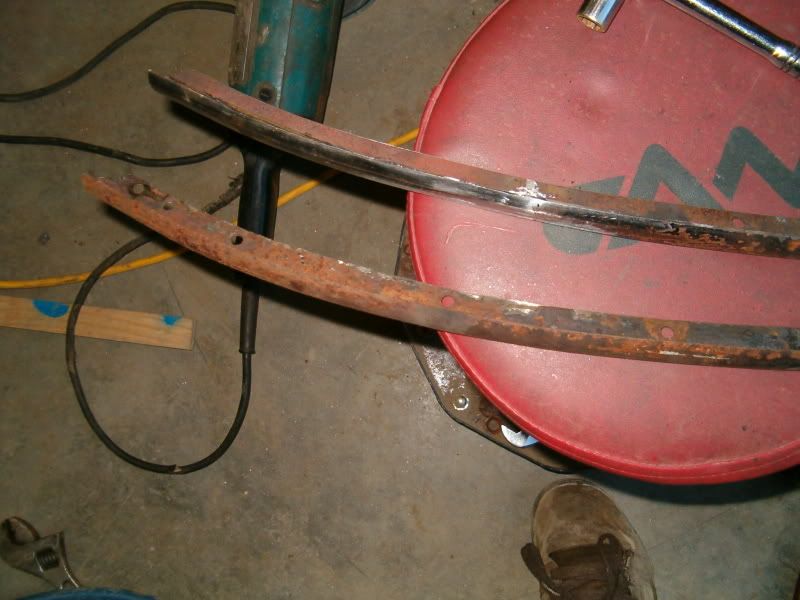
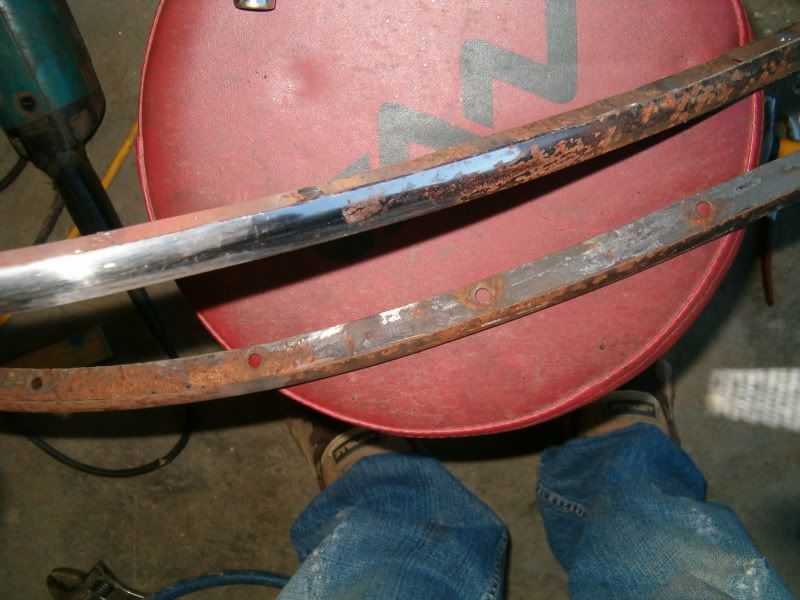
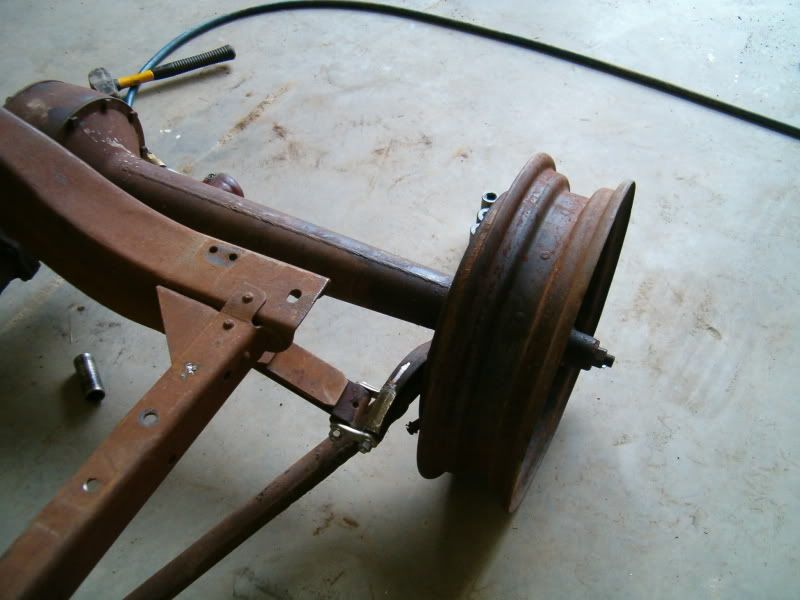
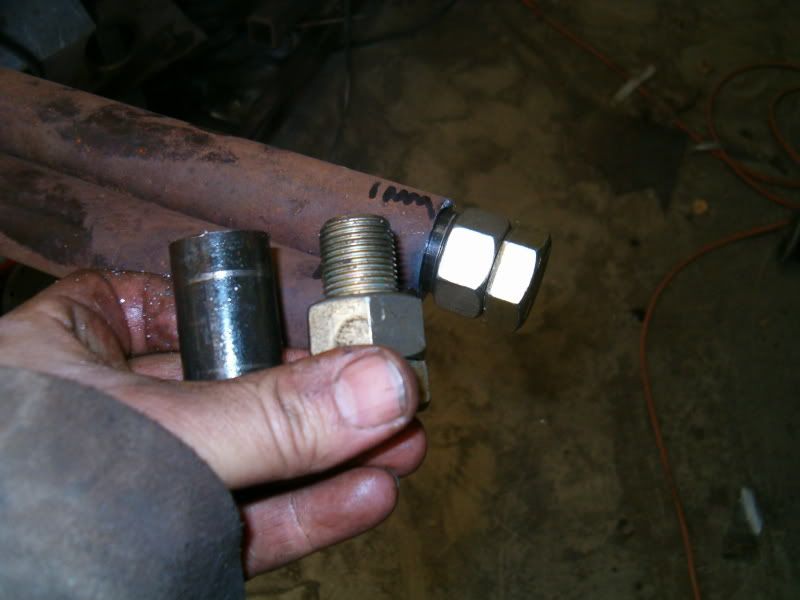
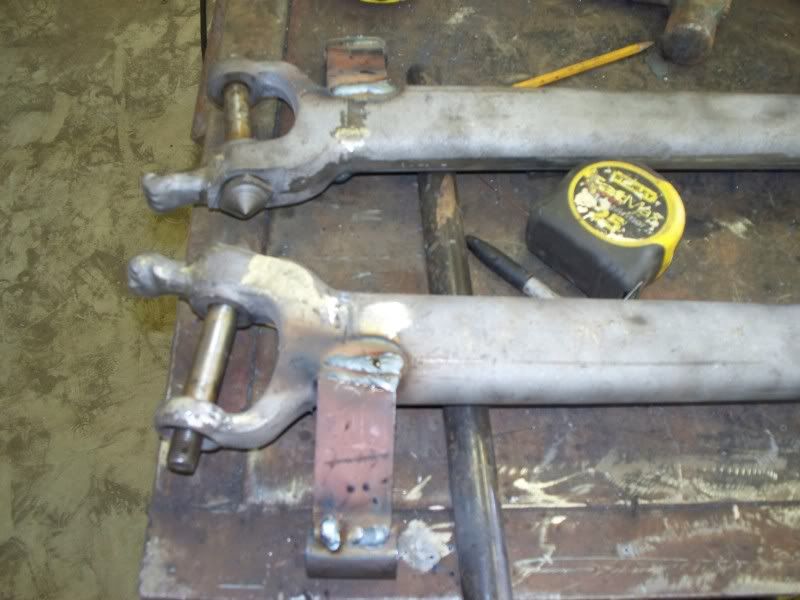
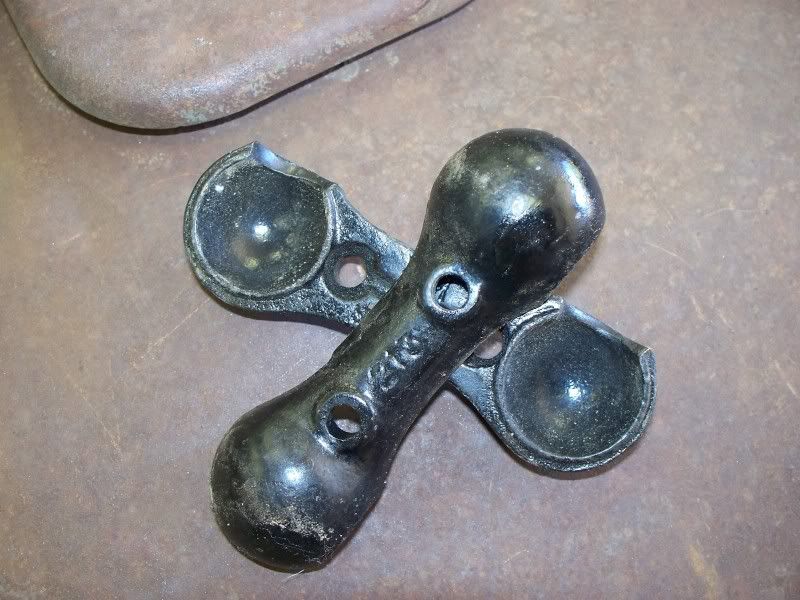
check out the "traditional" end link....built in the late 50s i'm told
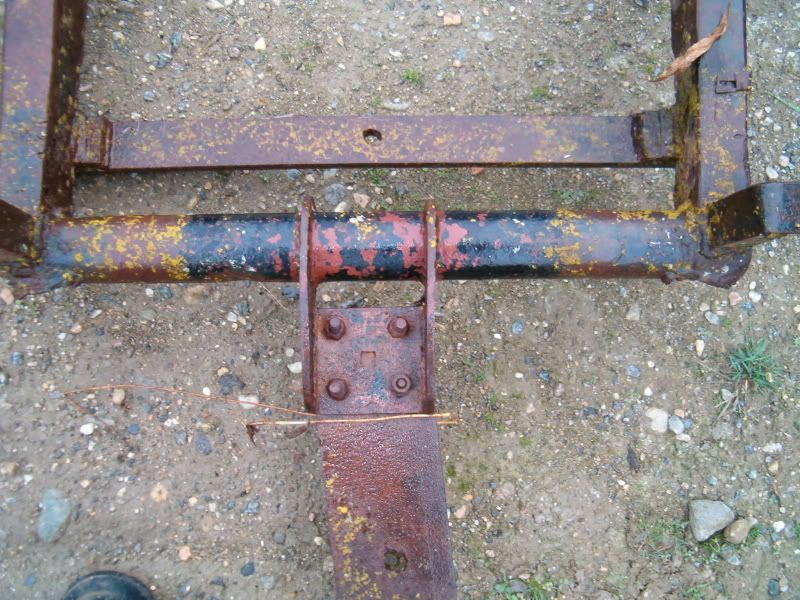
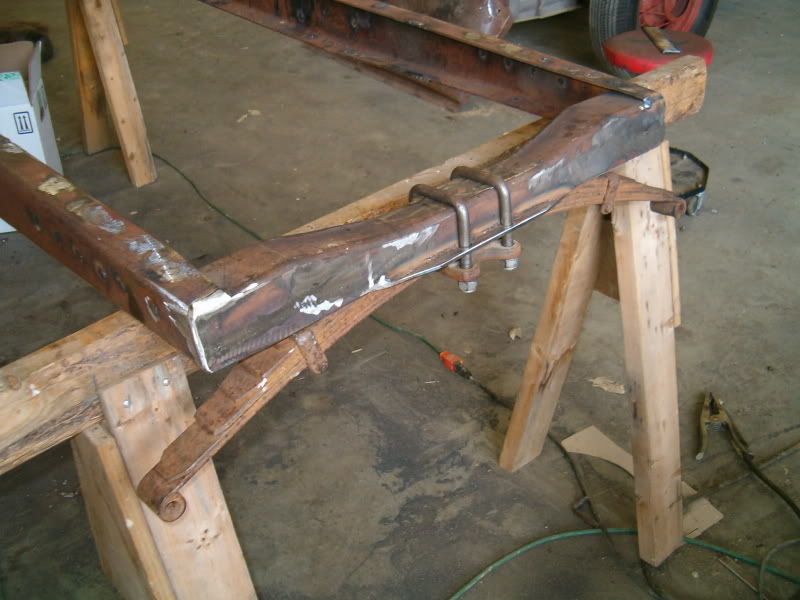
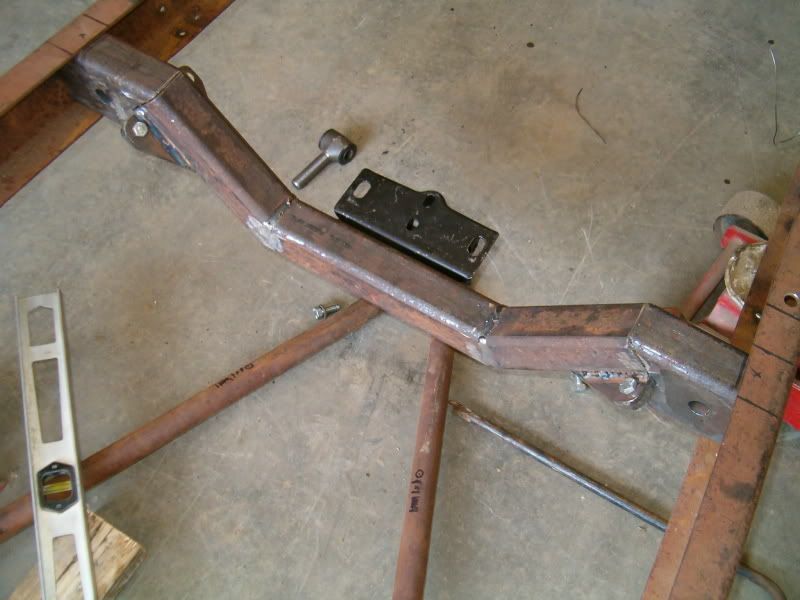
the only thing i need is the old aftermarket crossmember.....suicide ...
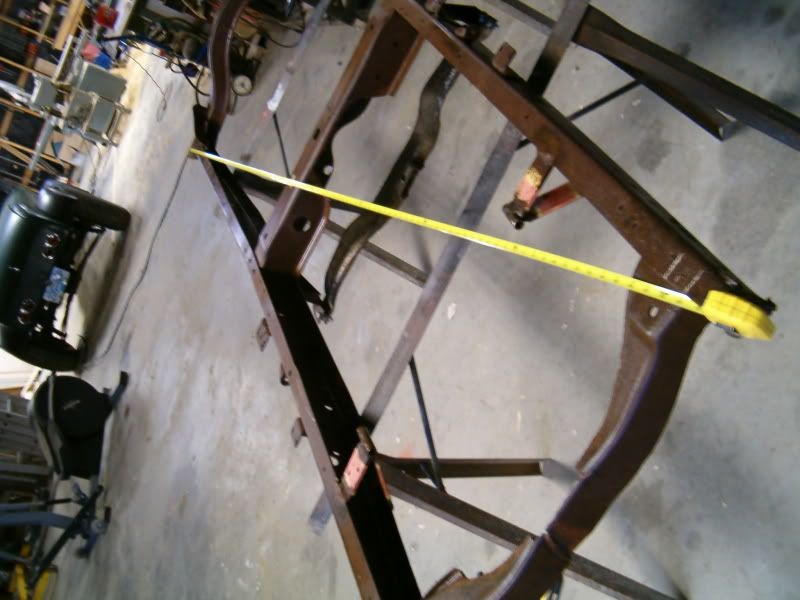
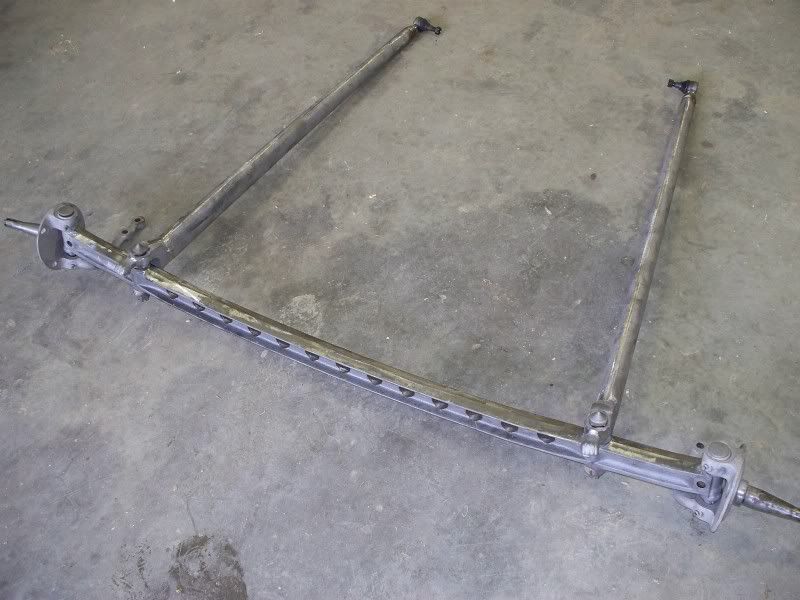
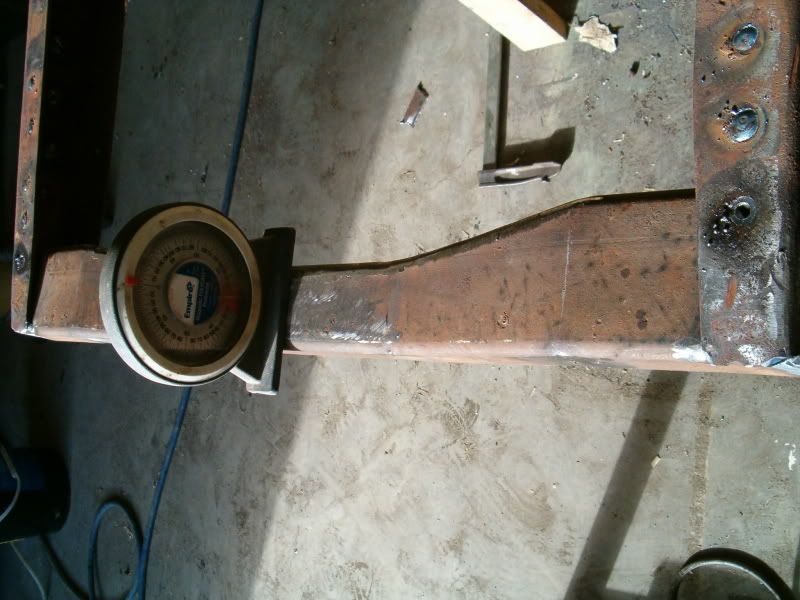
good and square
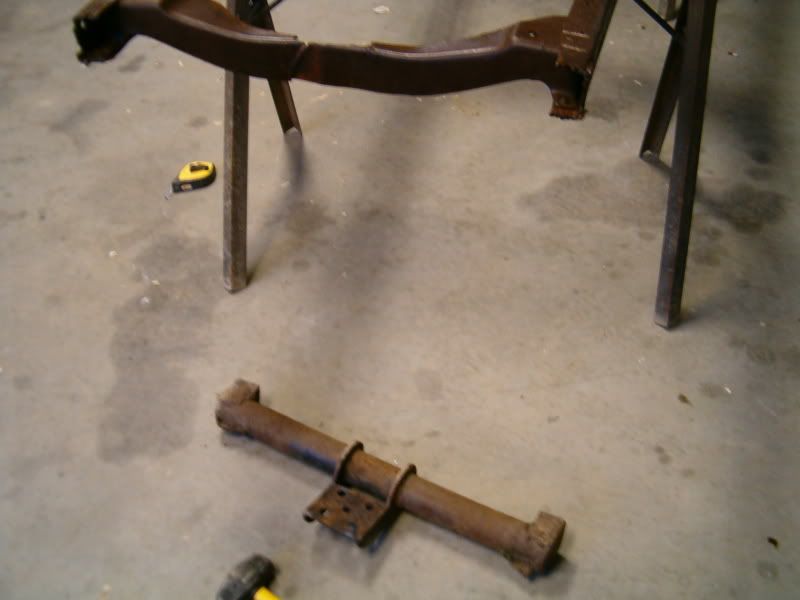
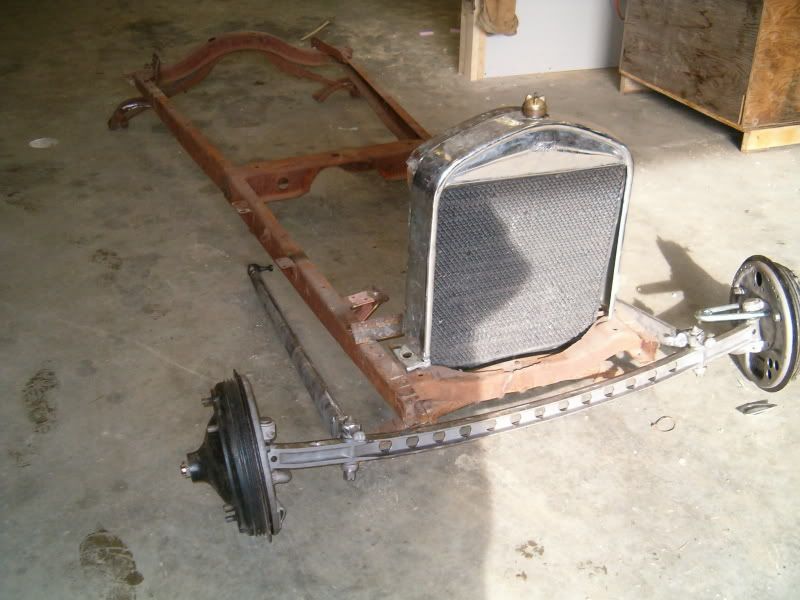
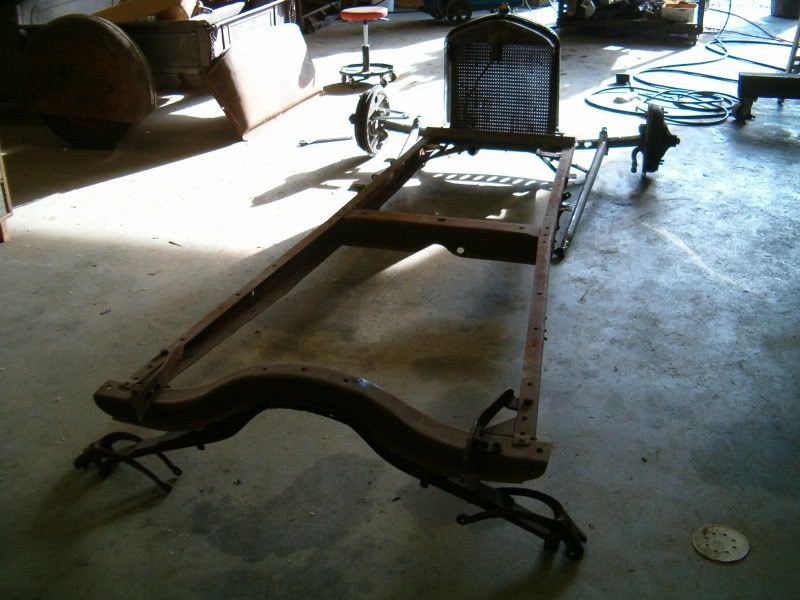
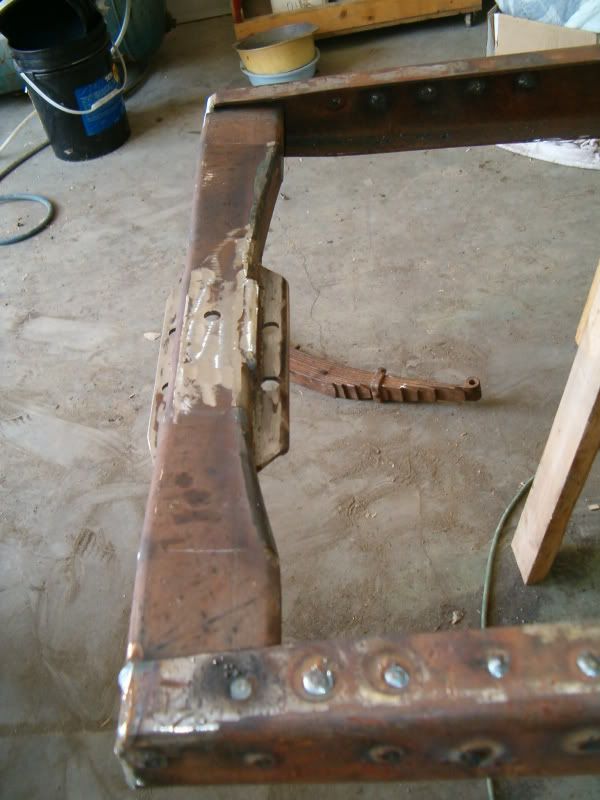
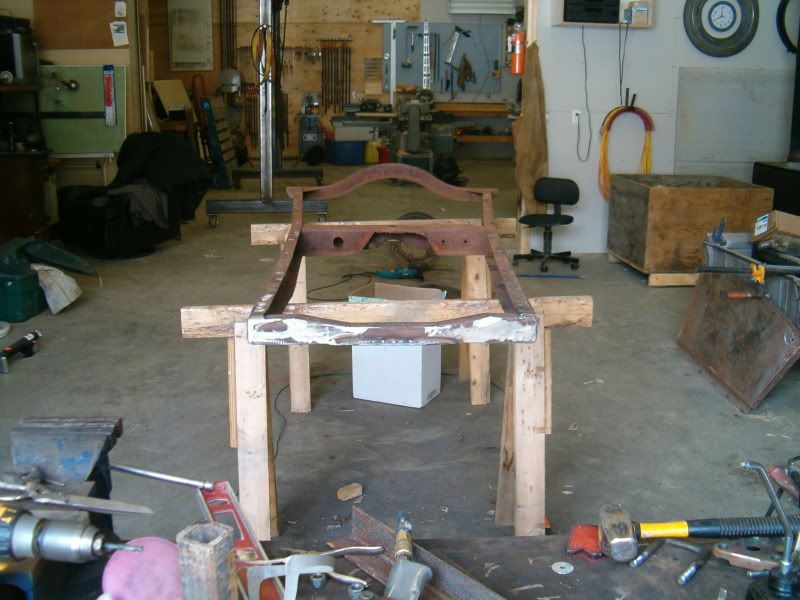
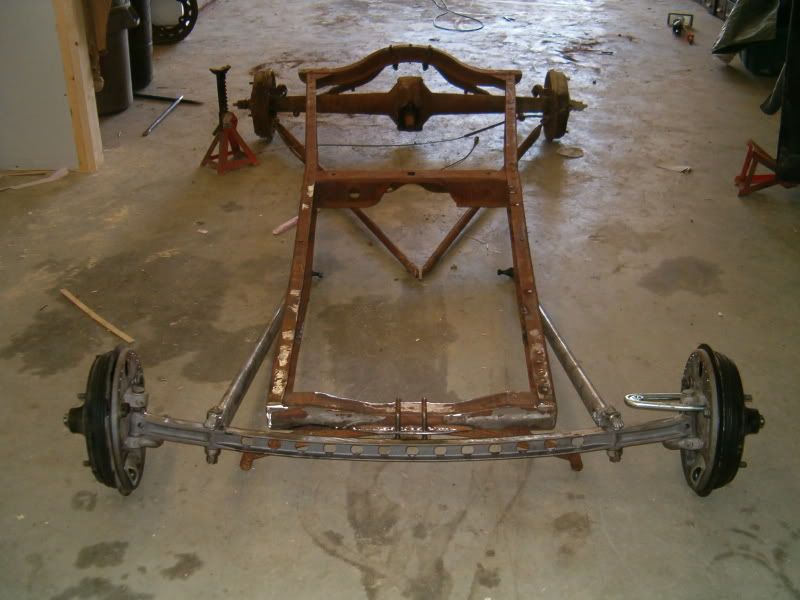
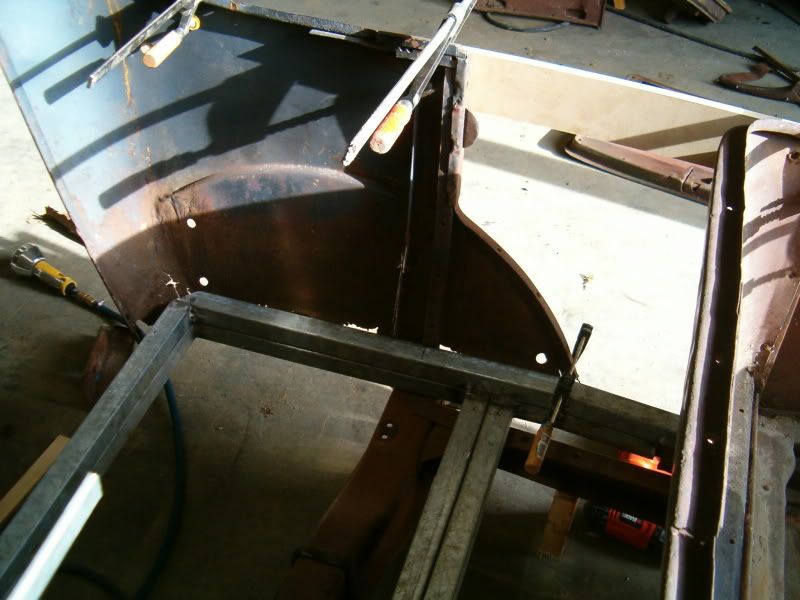
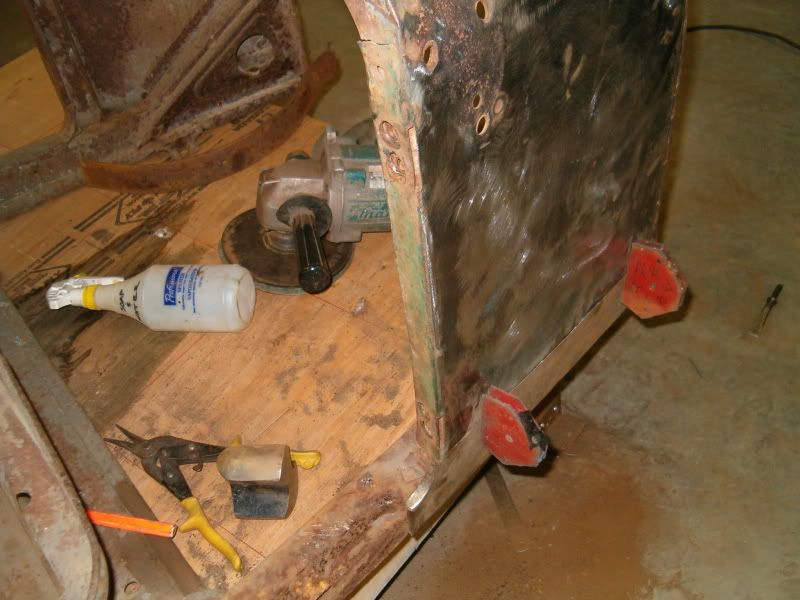
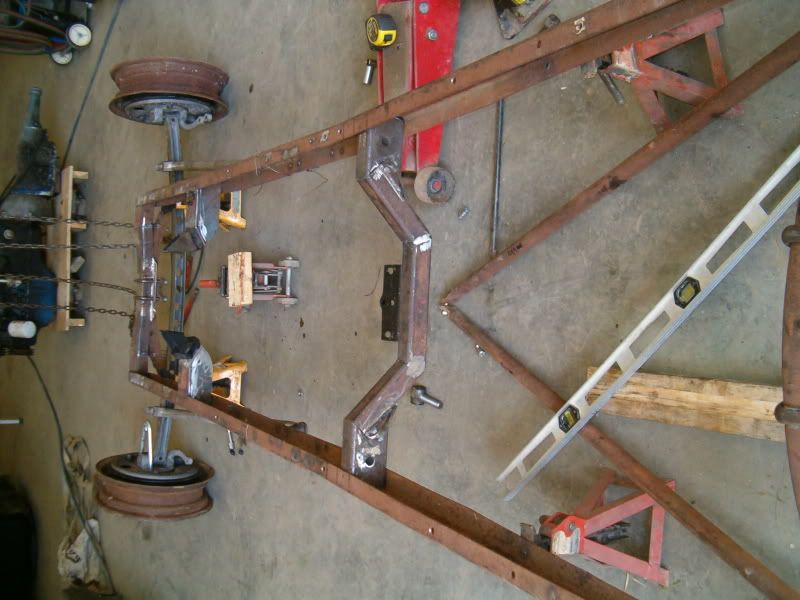
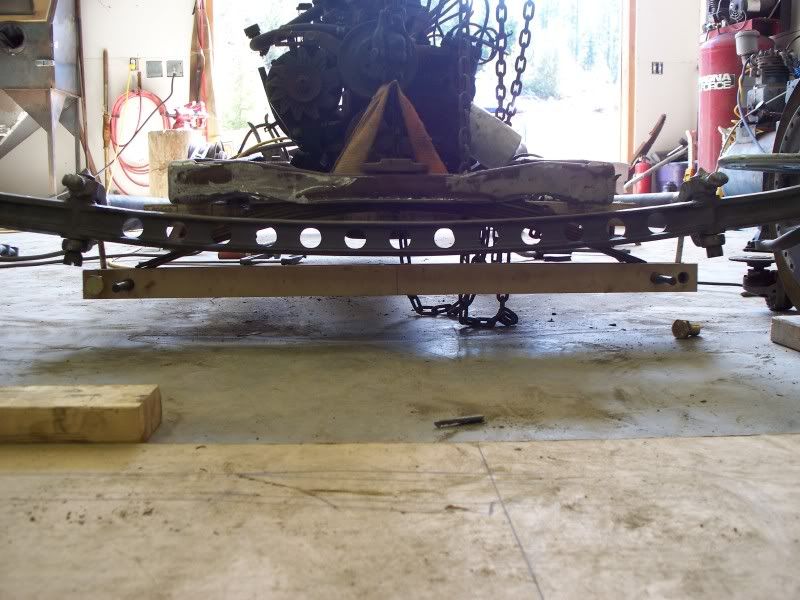
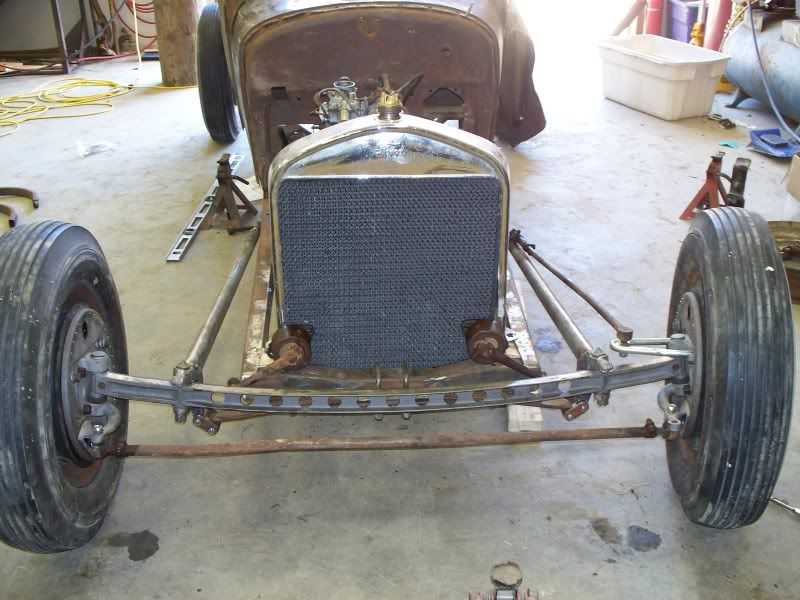
next step is to clean it up and mount it on the front of the good frame
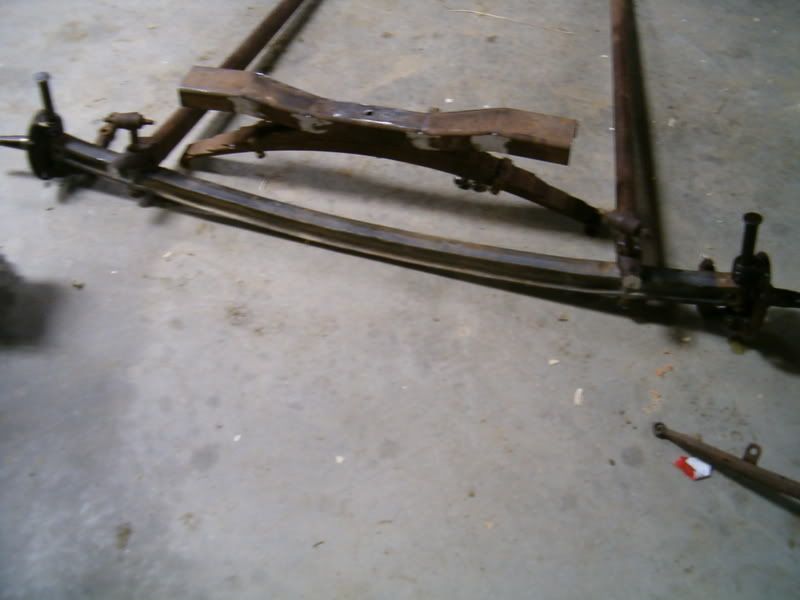
here is the front half
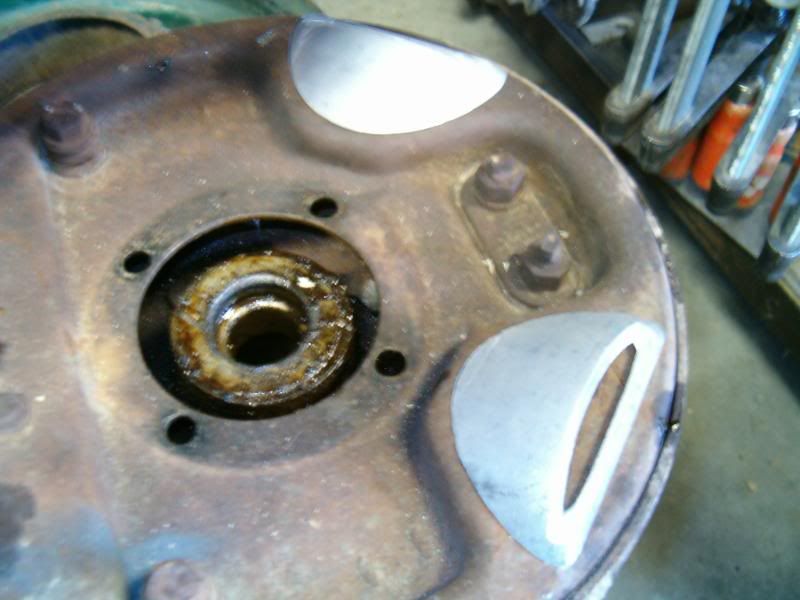
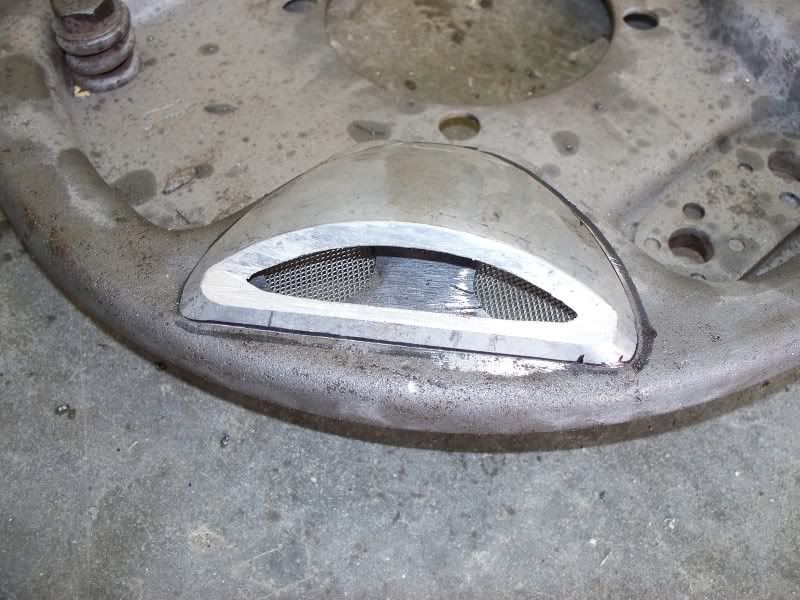
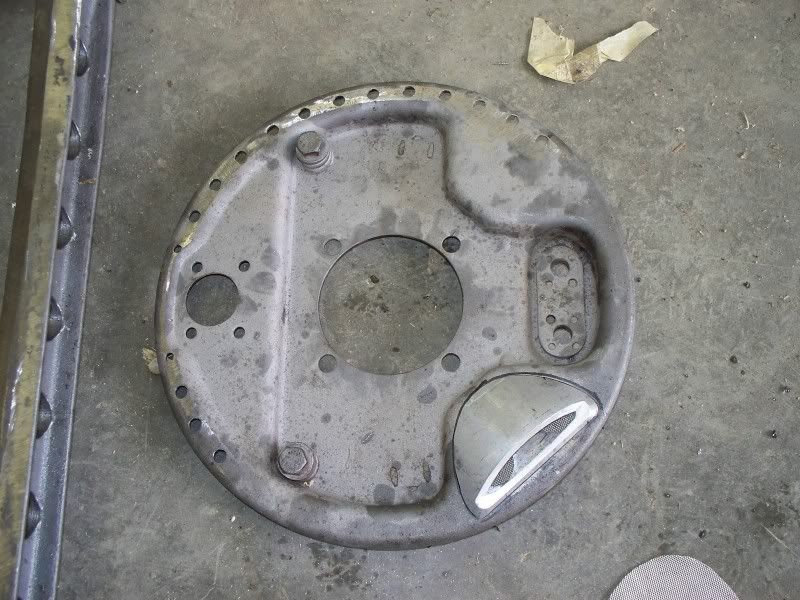
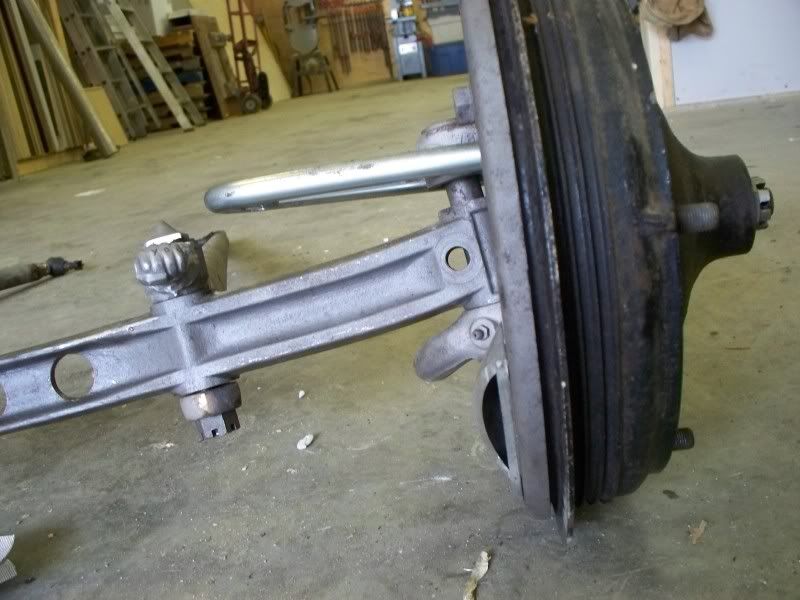
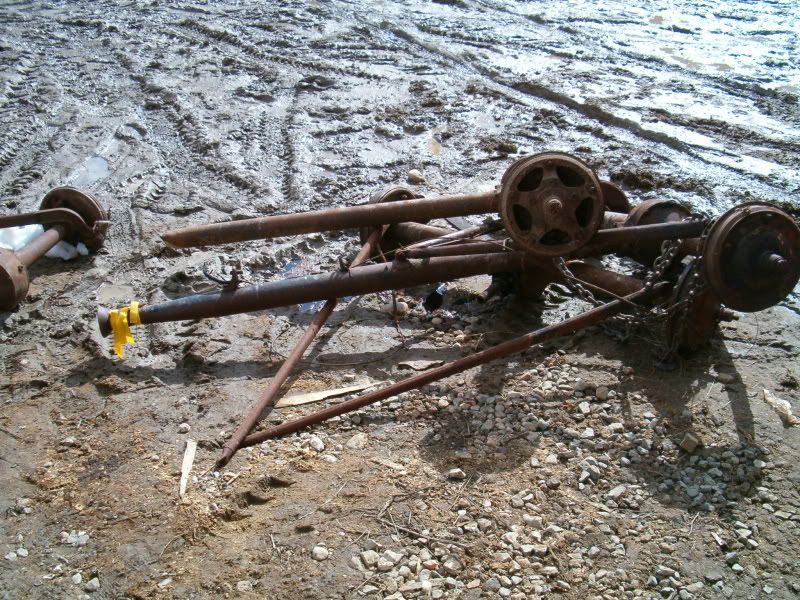
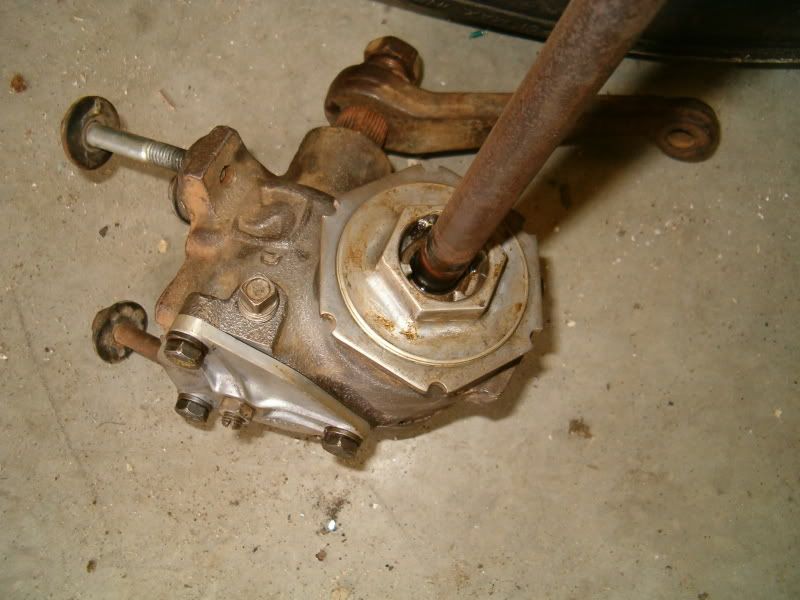
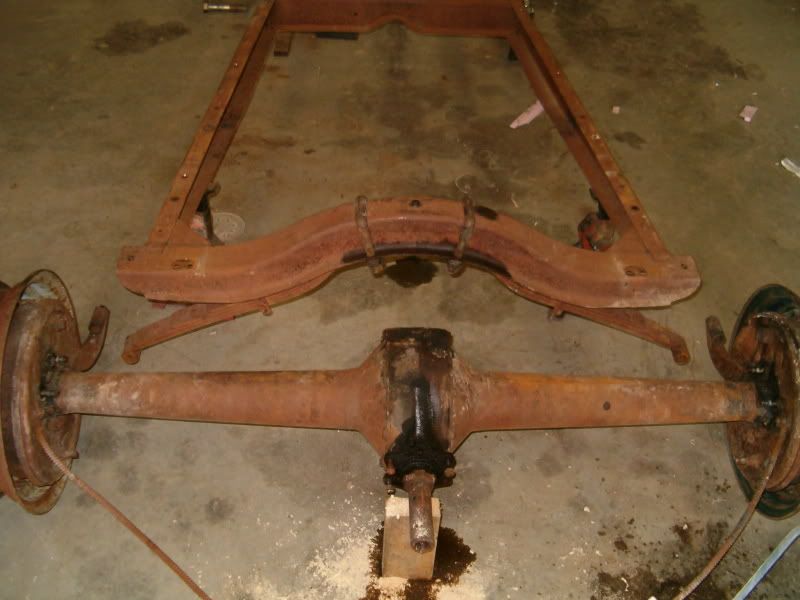
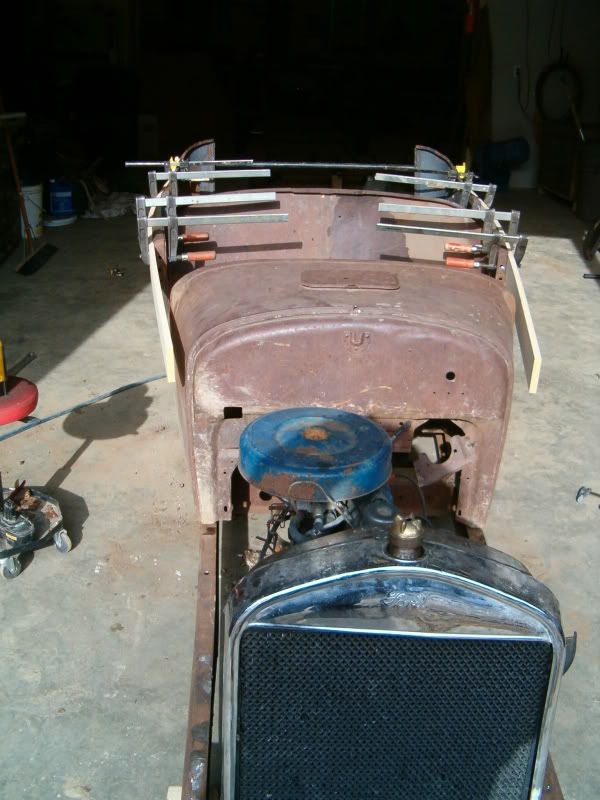
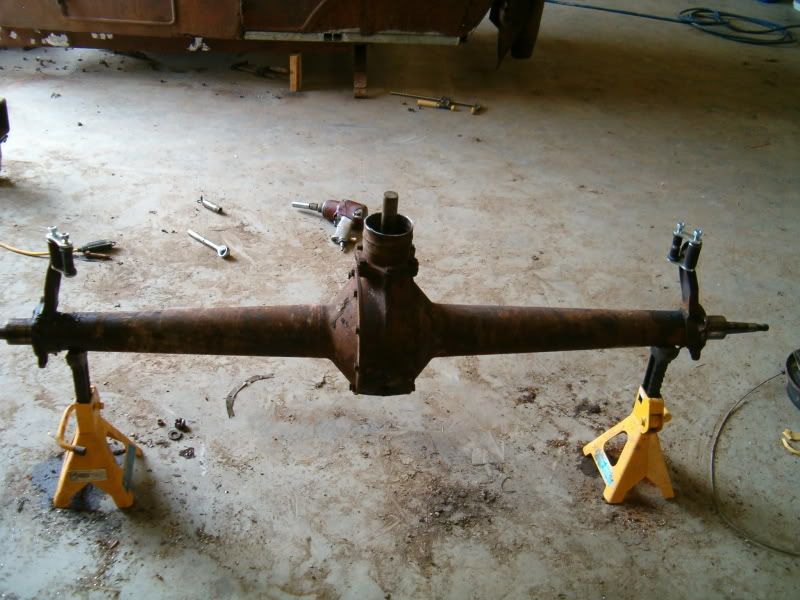
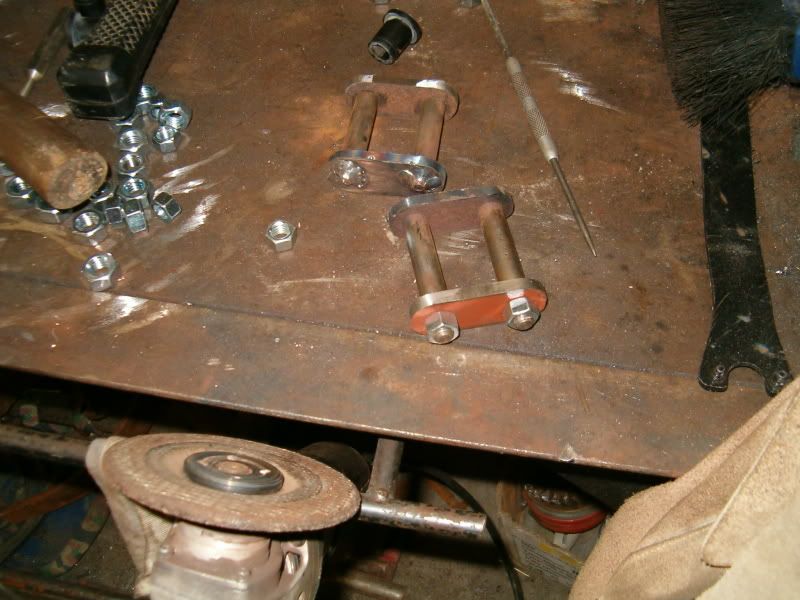
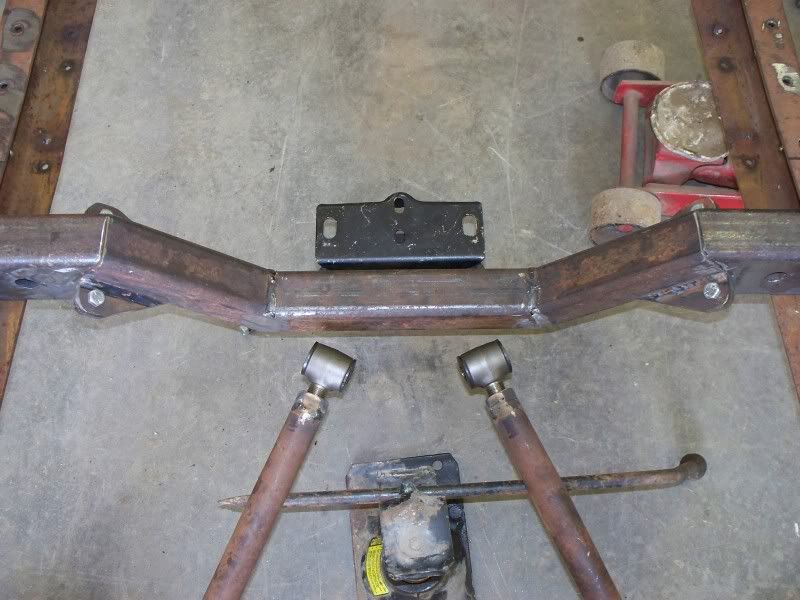
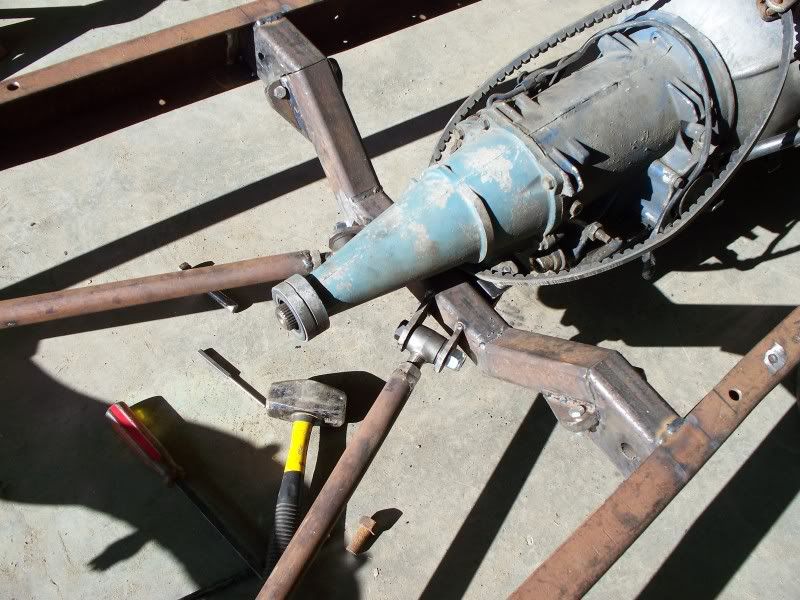
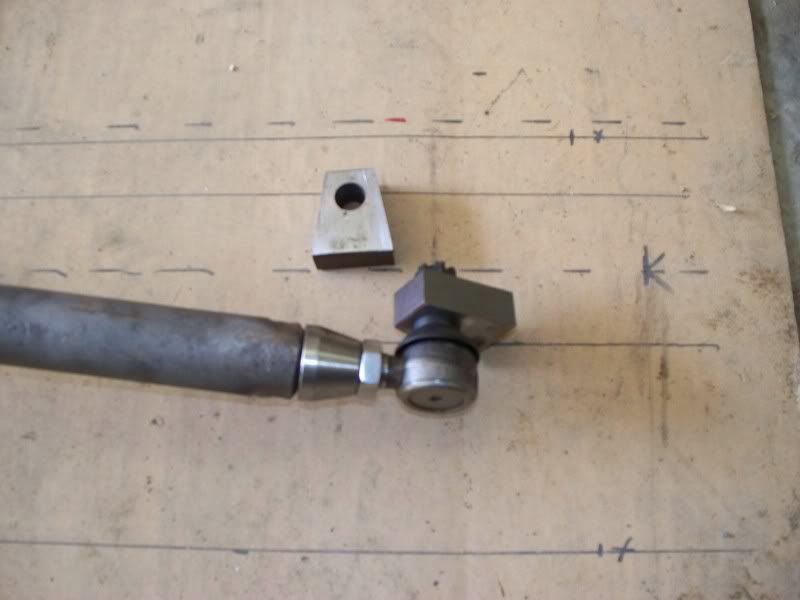
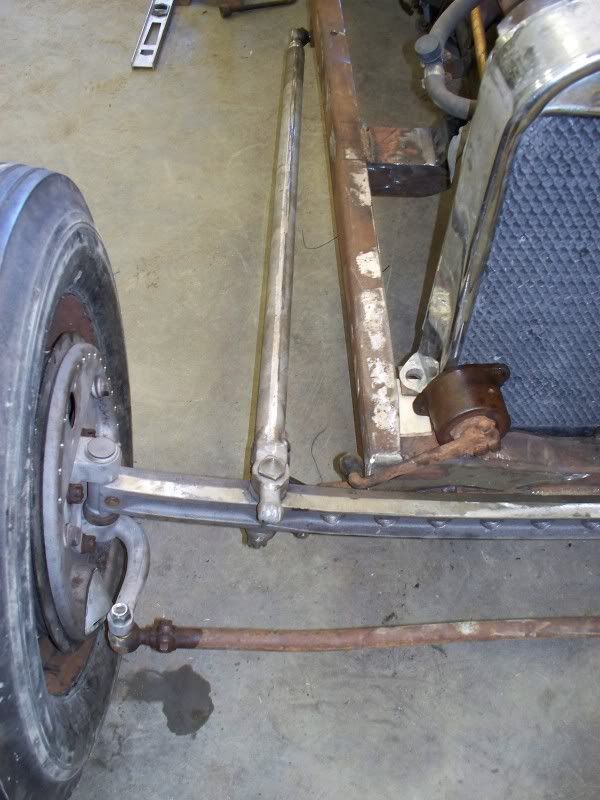
here is some of the suspension stuff
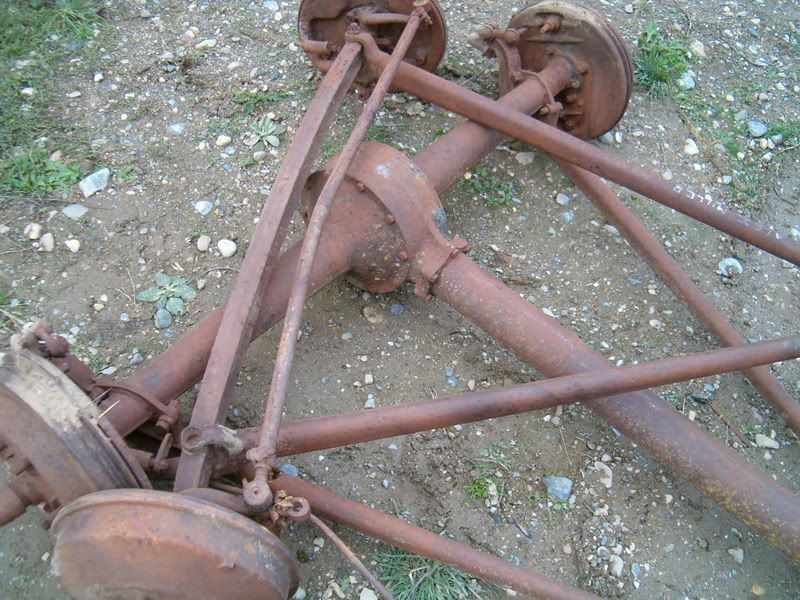
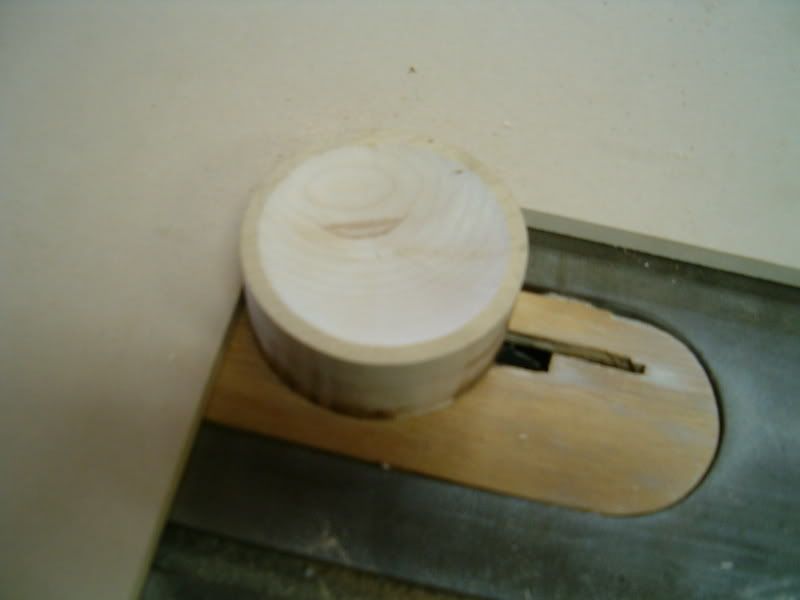
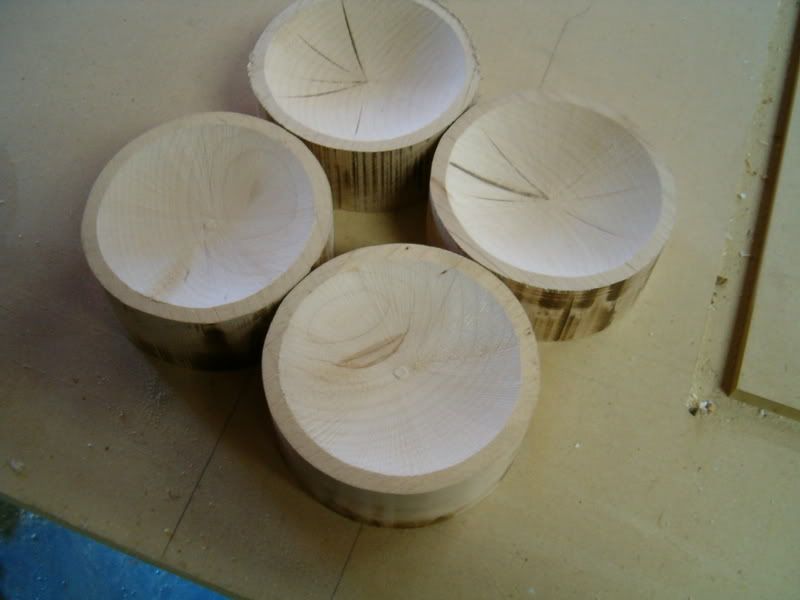
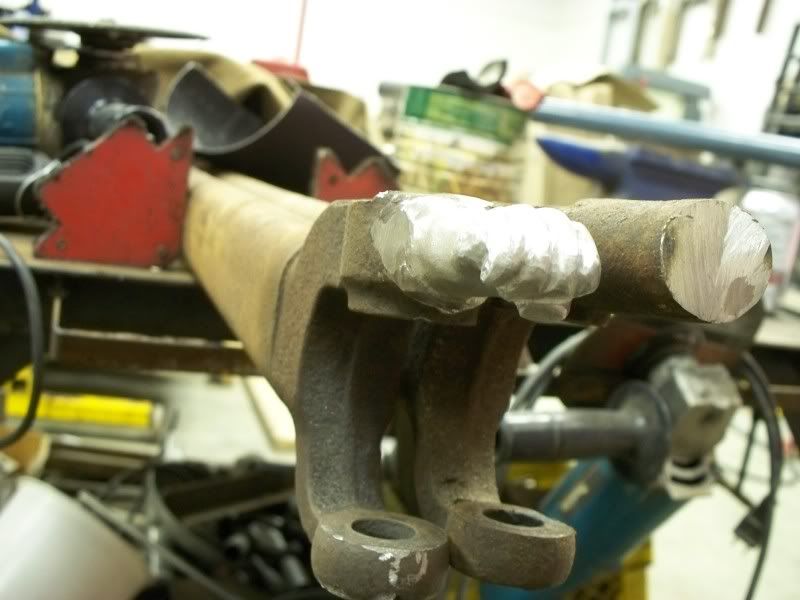
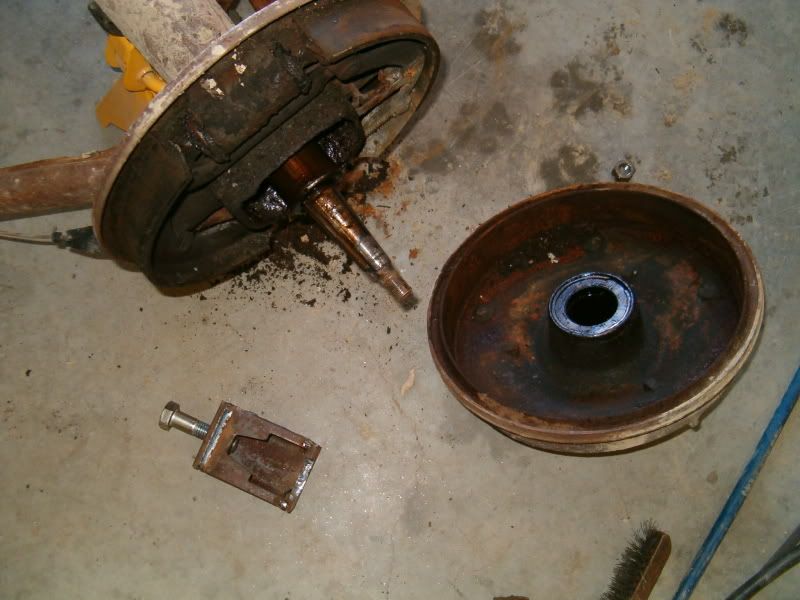
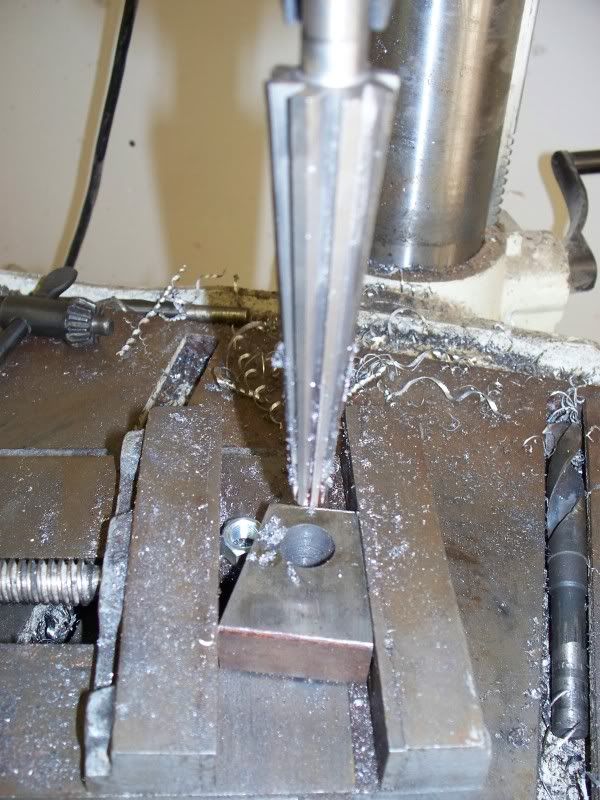
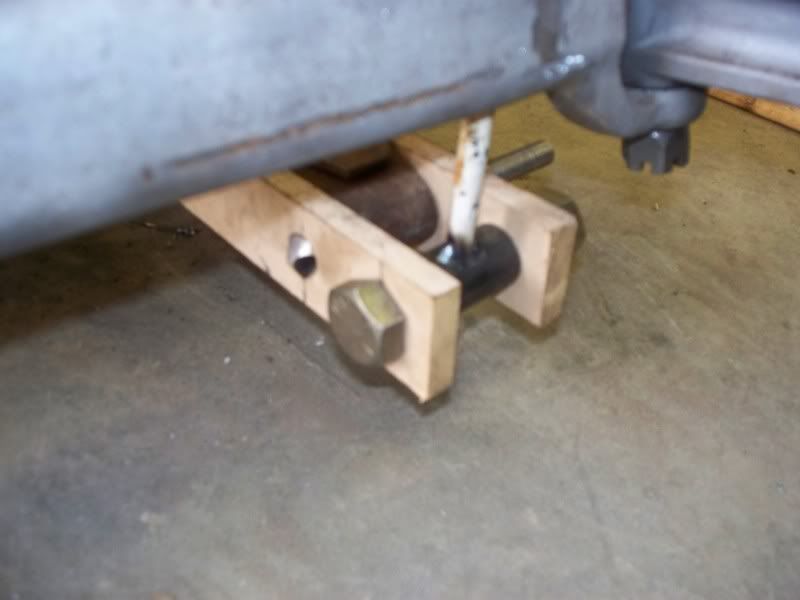
got the spingles off and am havin real fun with the perch pins....going to have to drill
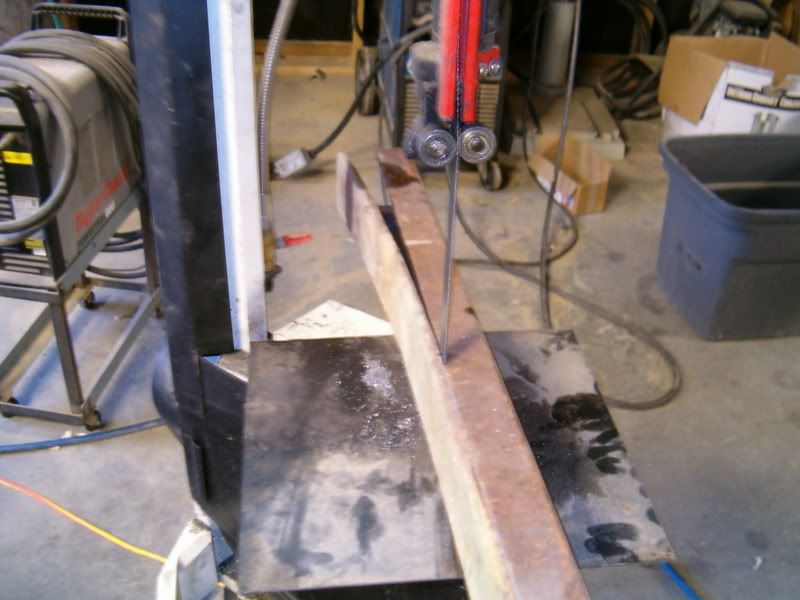
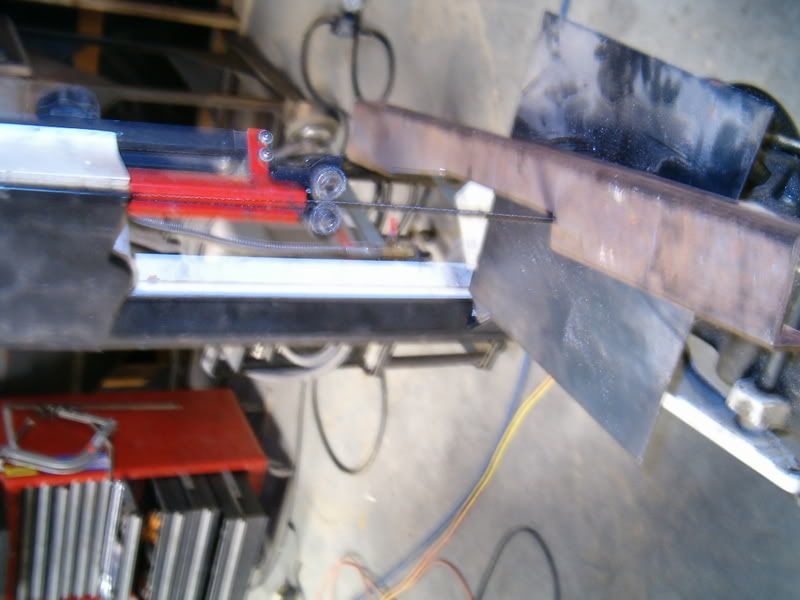
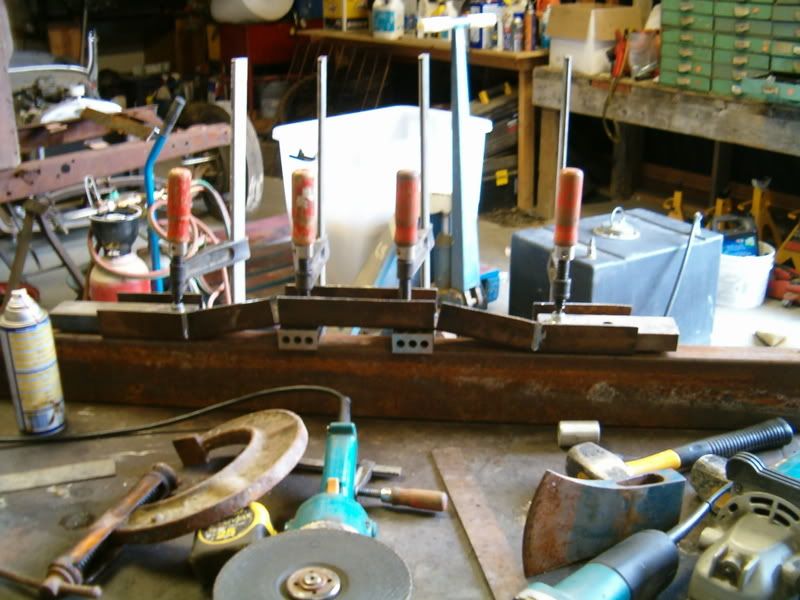
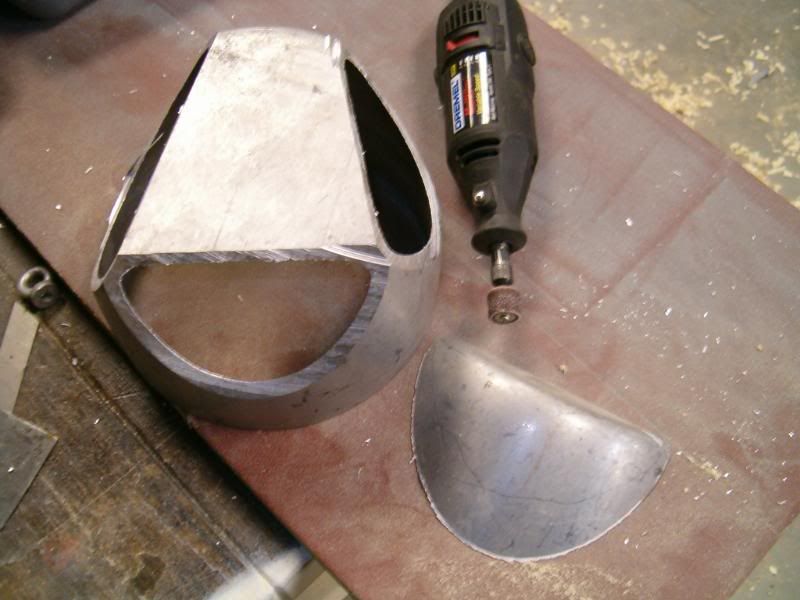
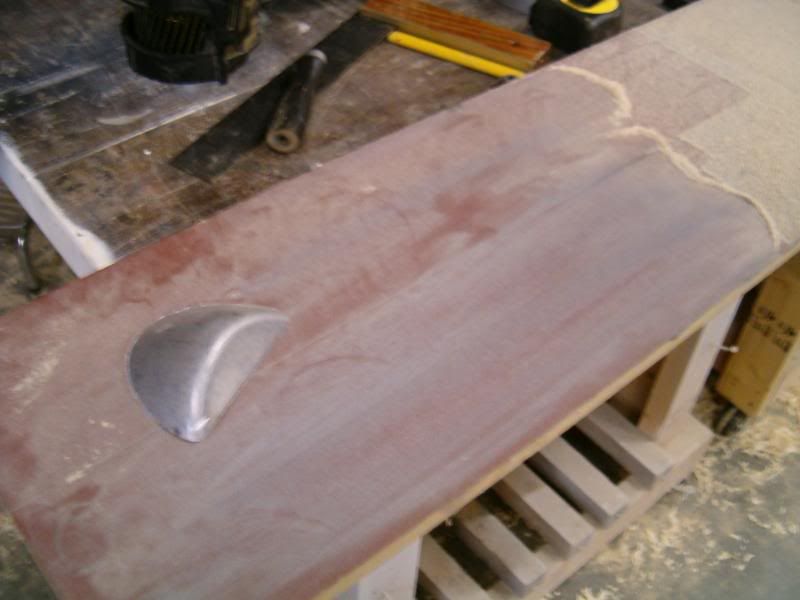
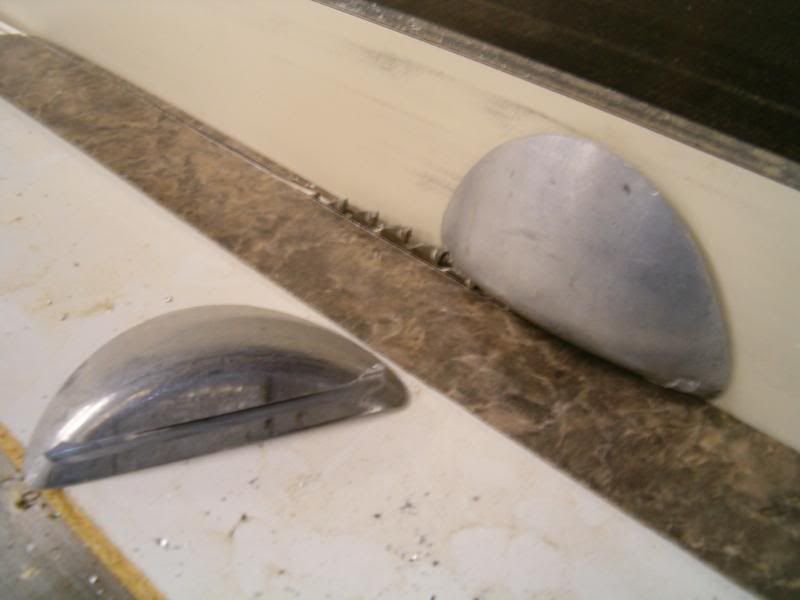
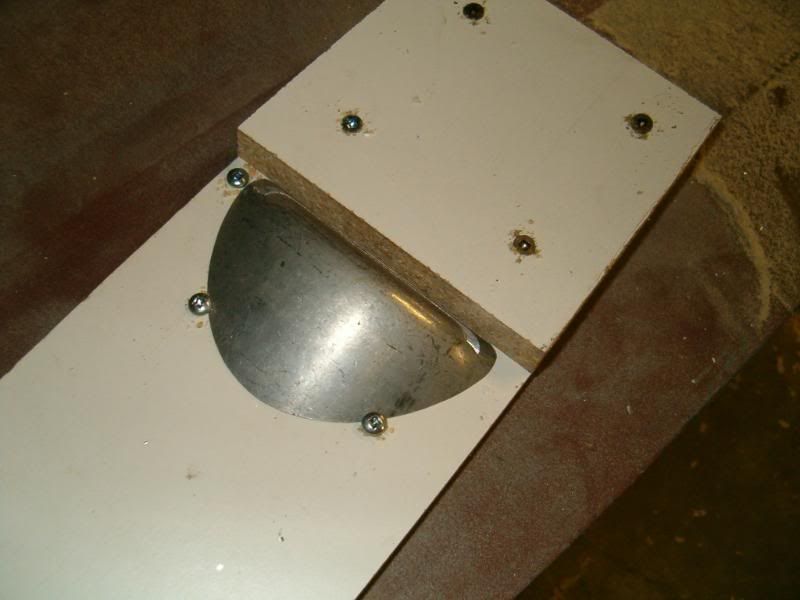
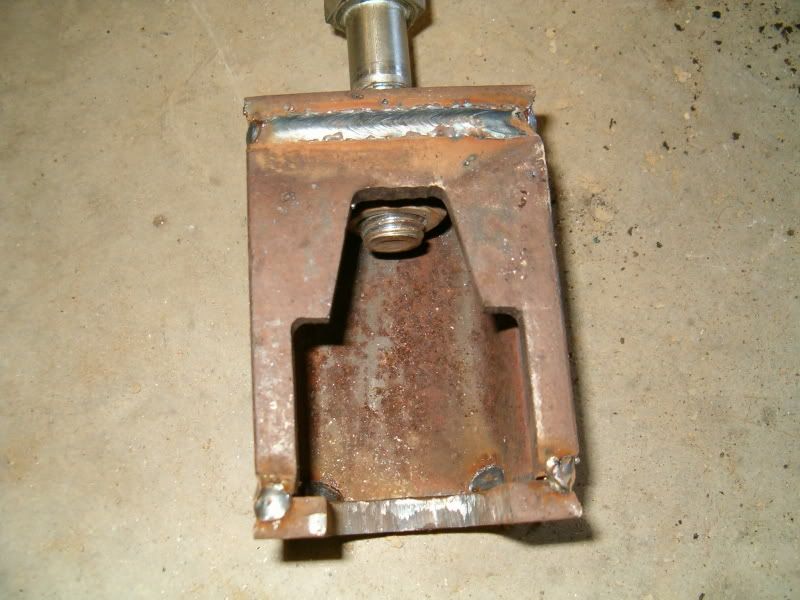
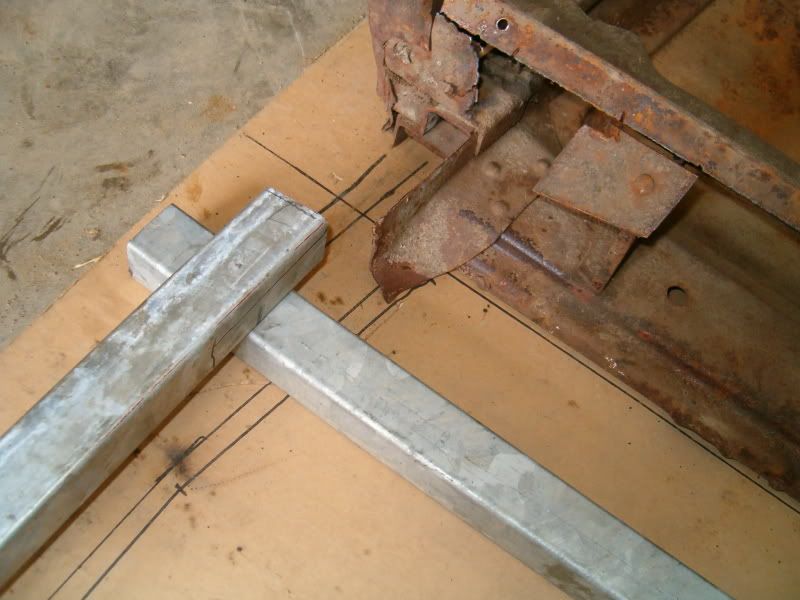
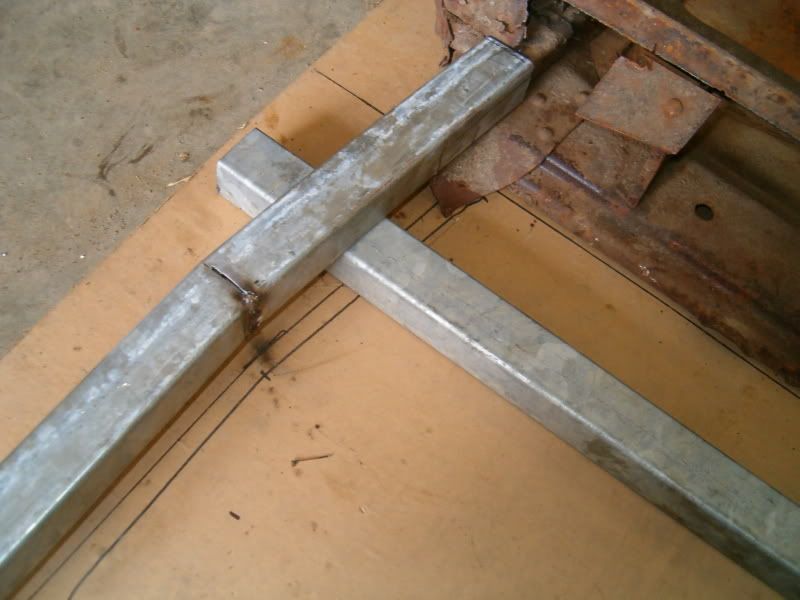
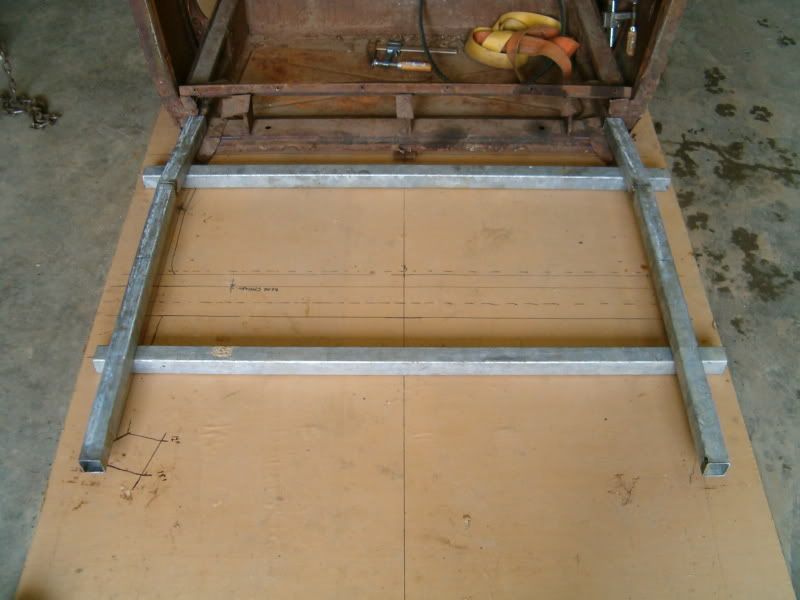
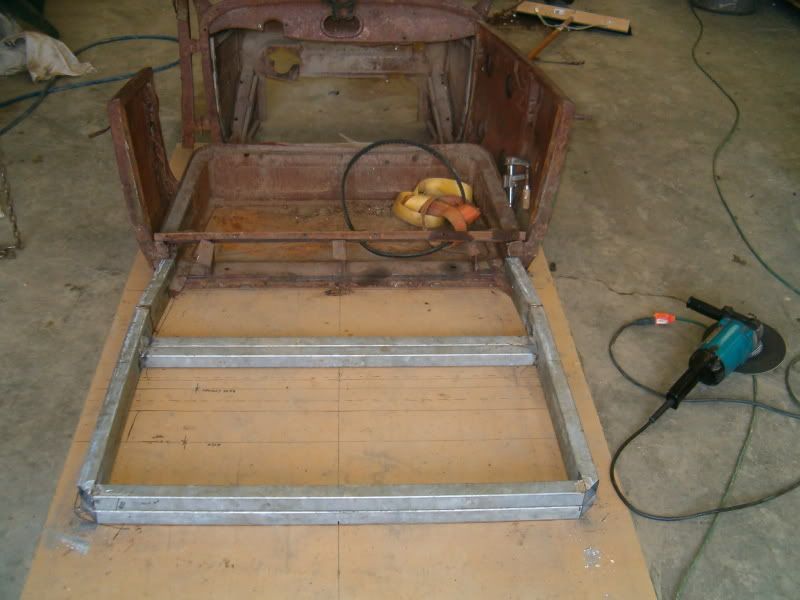
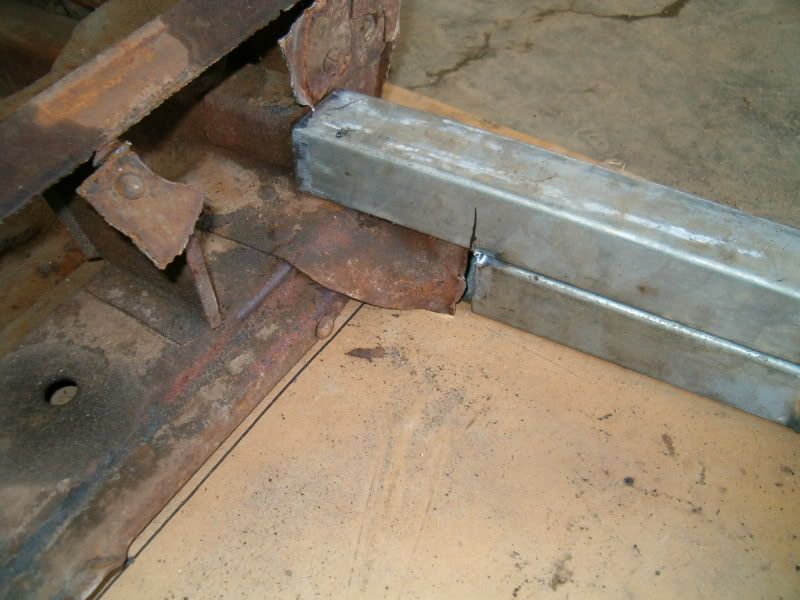
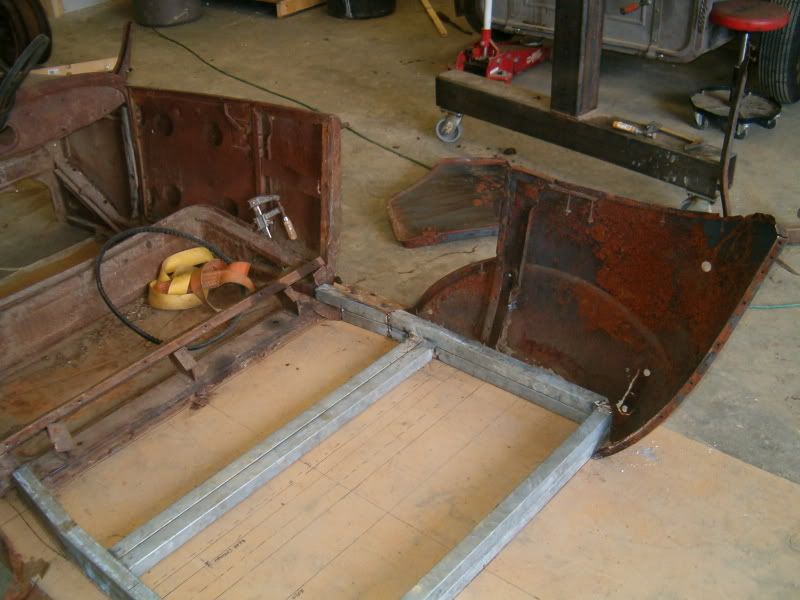
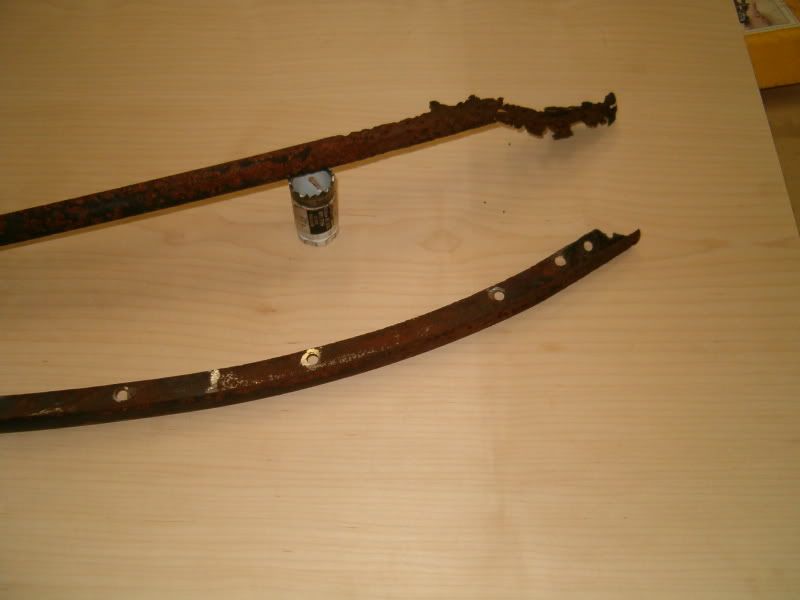
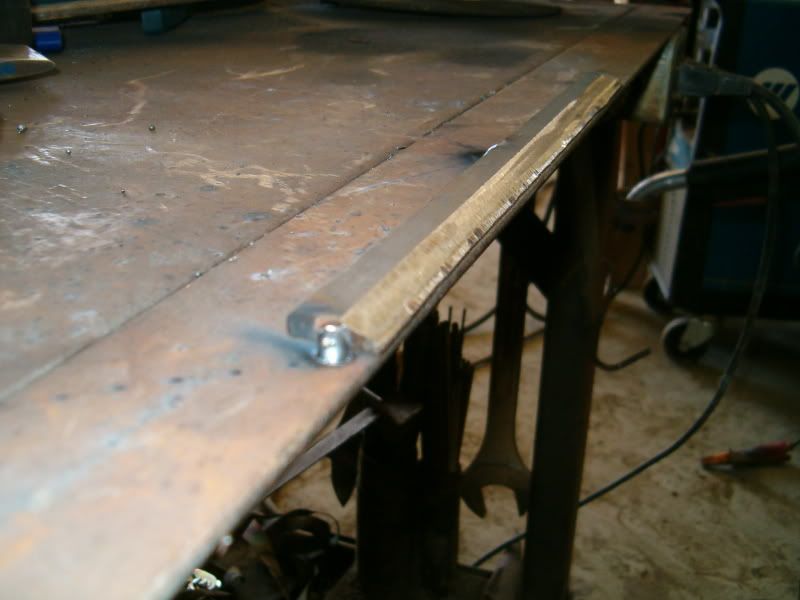
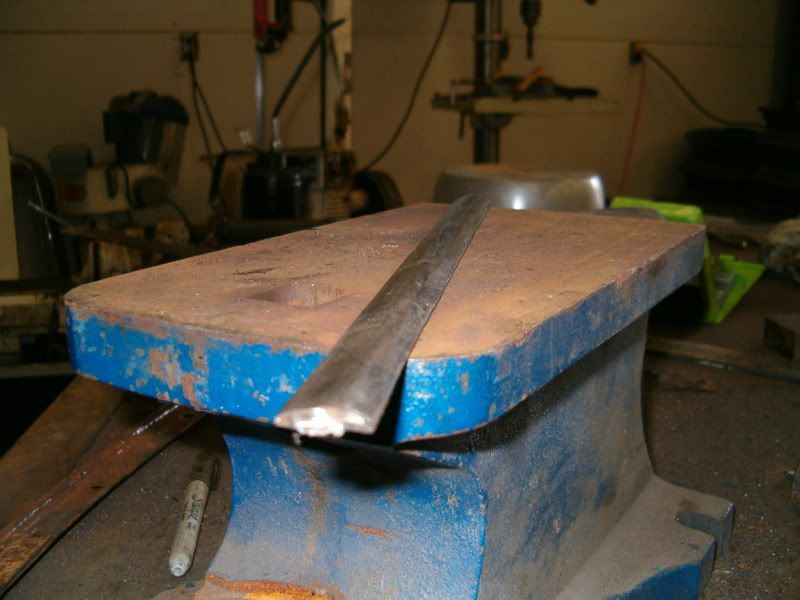
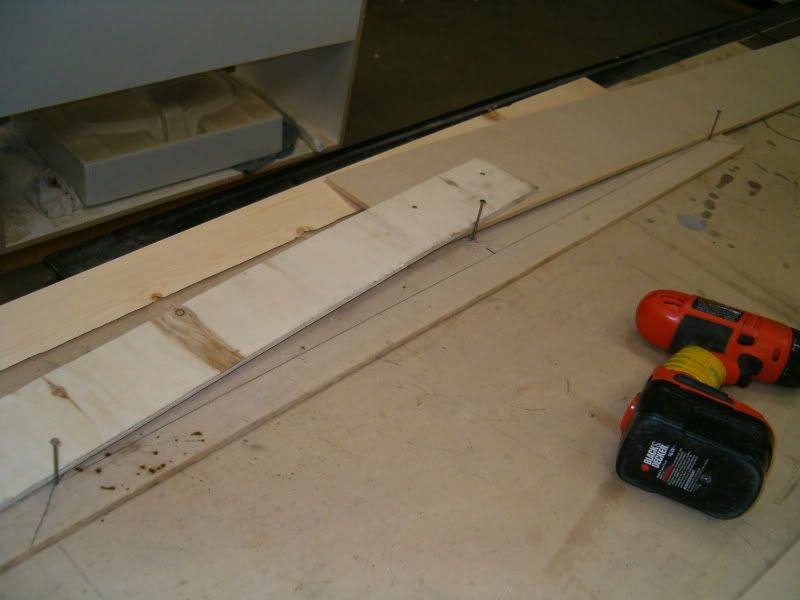
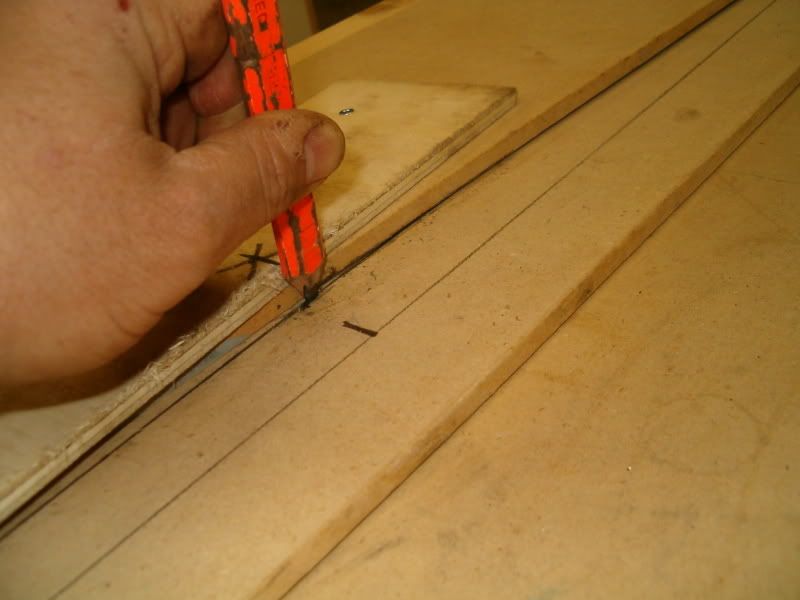
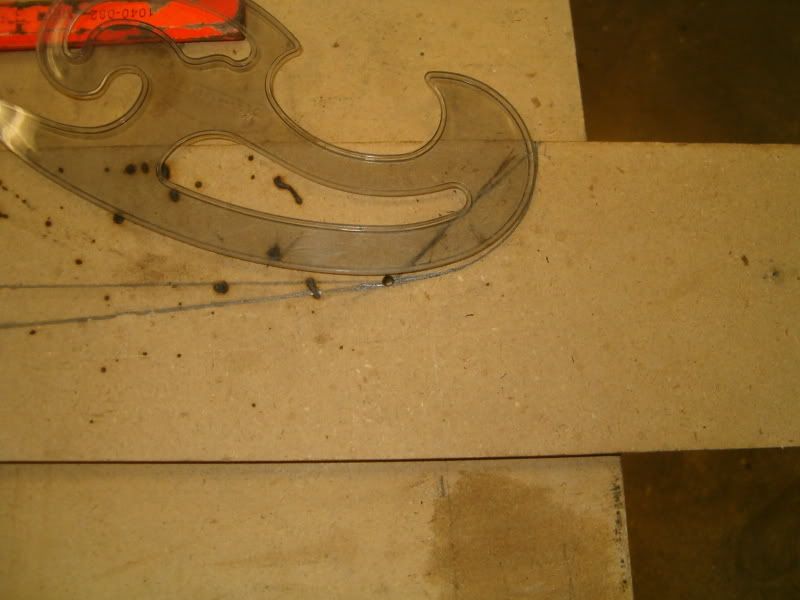
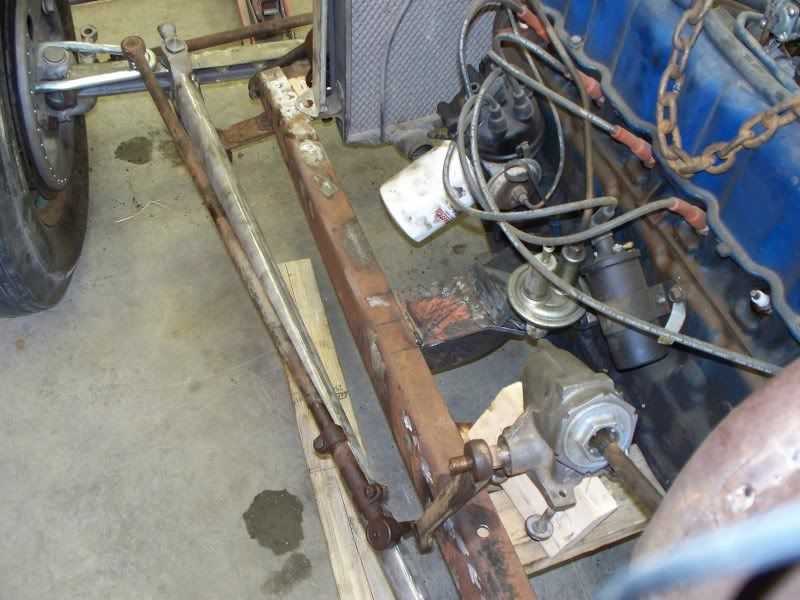
my old crossmember was way too rusted on the inside so i'm starting a new one ala le hamb
http://www.jalopyjournal.com/forum/showthread.php?t=297035
got a spare hour to start the T build before supper.....
i really enjoyed learning to sew and building my roadster top so i want a hot rod with a huge folding chopped top
here is my inspiration, with a photochop/paint top
and this one too i like the fenders
starting with a couple model A frames.....couple real gems
first one is a straight frame with a butchered front cross....was a mustang II on there
second frame is the junker that came with my roadster
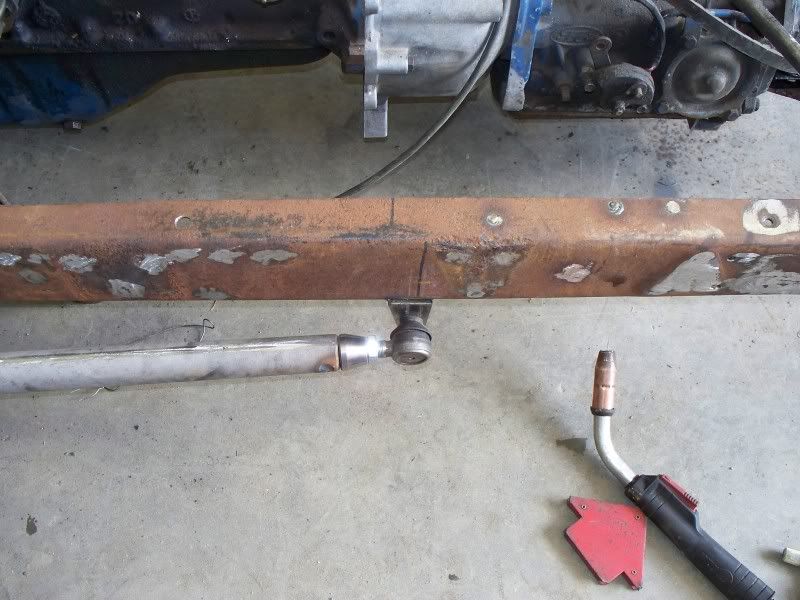
check out the "traditional" end link....built in the late 50s i'm told
the only thing i need is the old aftermarket crossmember.....suicide ...
good and square
next step is to clean it up and mount it on the front of the good frame
here is the front half
here is some of the suspension stuff
got the spingles off and am havin real fun with the perch pins....going to have to drill
my old crossmember was way too rusted on the inside so i'm starting a new one ala le hamb
http://www.jalopyjournal.com/forum/showthread.php?t=297035


")