|
Moving
To The Front End
by Frank Colgoni
|
|
|
|
|
|
In
article 14, we introduced you to the type of front end that we
would be using and the manufacturer. That is, an independant and
one from Total Cost Involved. While we love the look of an axle
on a hiboy, we've decided to go with something that offers a more
compliant ride with better steering response.
In
article 14, we showed a close up of one side of the crossmember
tacked in place. In the picture below, you can see the entire
crossmember as seen from the back. In this application, the steering
rack is behind the crossmember for good looks. The rack mounting
brackets are obvious in this photo. Just above the crossmember,
you can also see the radiator mounting pads.
|
| |
|
| |
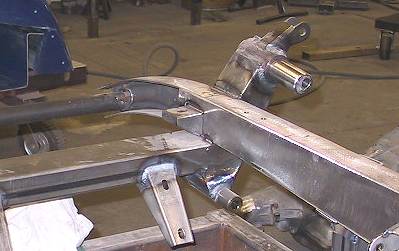 This
a closer view of the passenger side.
 |
| |
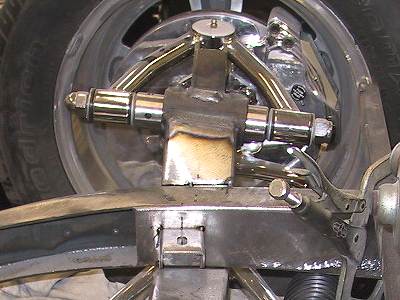 In
this photo, the various components have been assembled.
The built-in geometry is evident in this photo. |
| |
 In
this photo, shot from the passenger side, you can see the rack
in position and, just above it, the sway bar. It's all very compact. |
| |
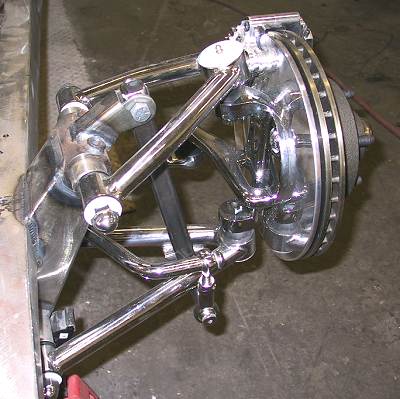
This
will give you an idea of how the assembled driver's side looks.
The coilover is missing from the assembly. As we mentioned, we
opted for the
show finish version as you can get a good look at it from the
front.
|
| |
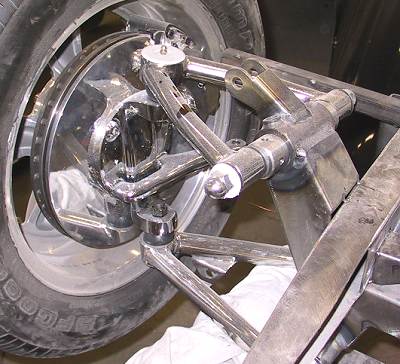 A
shot of the passenger side assembly.
 |
| |
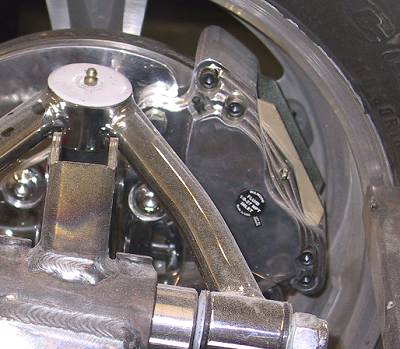
This
photo shows a close-up of the Wilwood billet caliper.
There's plenty of room between the caliper and the wheel.
This is a 15 X 6 wheel.
|
| |
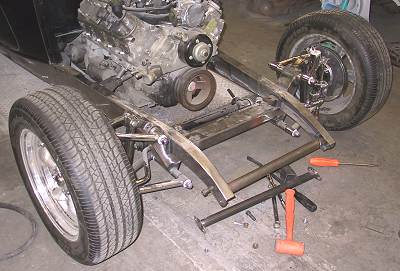 With
both sides in place, the car can be put on the ground.
 |
| |
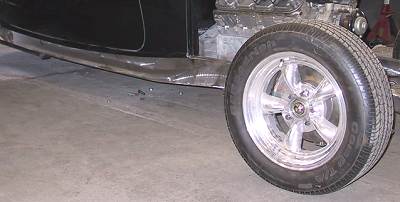 This will give you an idea of the ride height. If you imagine a
running board below the frame, it's obvious that the car will sit
low -
just the way we want it. |
| |
|

